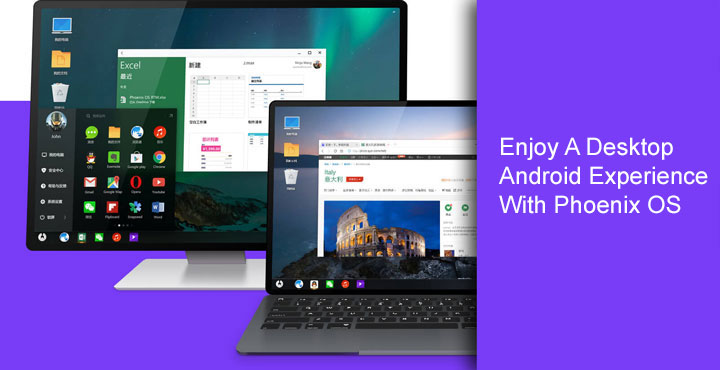
With the ever rising popularity of Android on smartphones, you’re not alone when you wish Android was available on desktops as well. That is what gave birth to the Android x86 project which has been around since 2009, in case you’ve never heard of it. But the problem with Android on a desktop is, it is not meant for it. The best Android could offer in terms of multitasking is a split-screen view which only became a part of the OS last year with Android Nougat. There aren’t any resizable windows and all apps open in full screen which is okay for smartphones, not desktops. This is where Phoenix OS comes in.
If you haven’t been following, Remix OS is now dead. It was based on the Android x86 project, like every other project aimed at bringing Android to a desktop. Remix OS was the closest to a desktop experience that you could get with Android. But now that Jide has decided to stray away from the consumer market, our best bet is Phoenix OS.
Much like Remix OS, Phoenix OS optimises Android for use or larger screens with a mouse and keyboard instead of touch. It was intended for desktops and laptops with Intel Atom CPUs but will nevertheless run on almost any PC built in the past five years. The OS is quite well suited for dual booting as well as it uses code from both Android x86 and grub4dos boot management tool. Phoenix OS can also be installed on a suitable USB storage device.
Related post: Use Android as Second Screen for Your Windows PC with Spacedesk
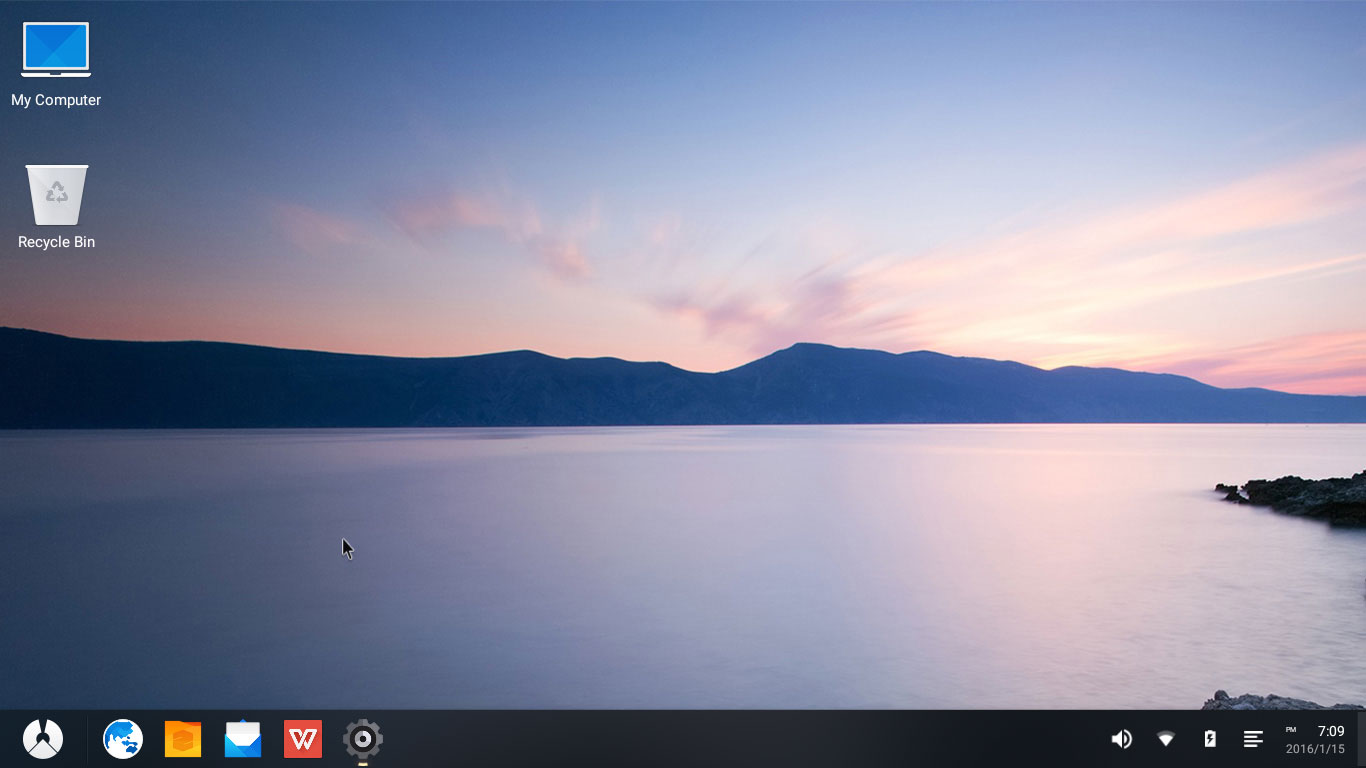
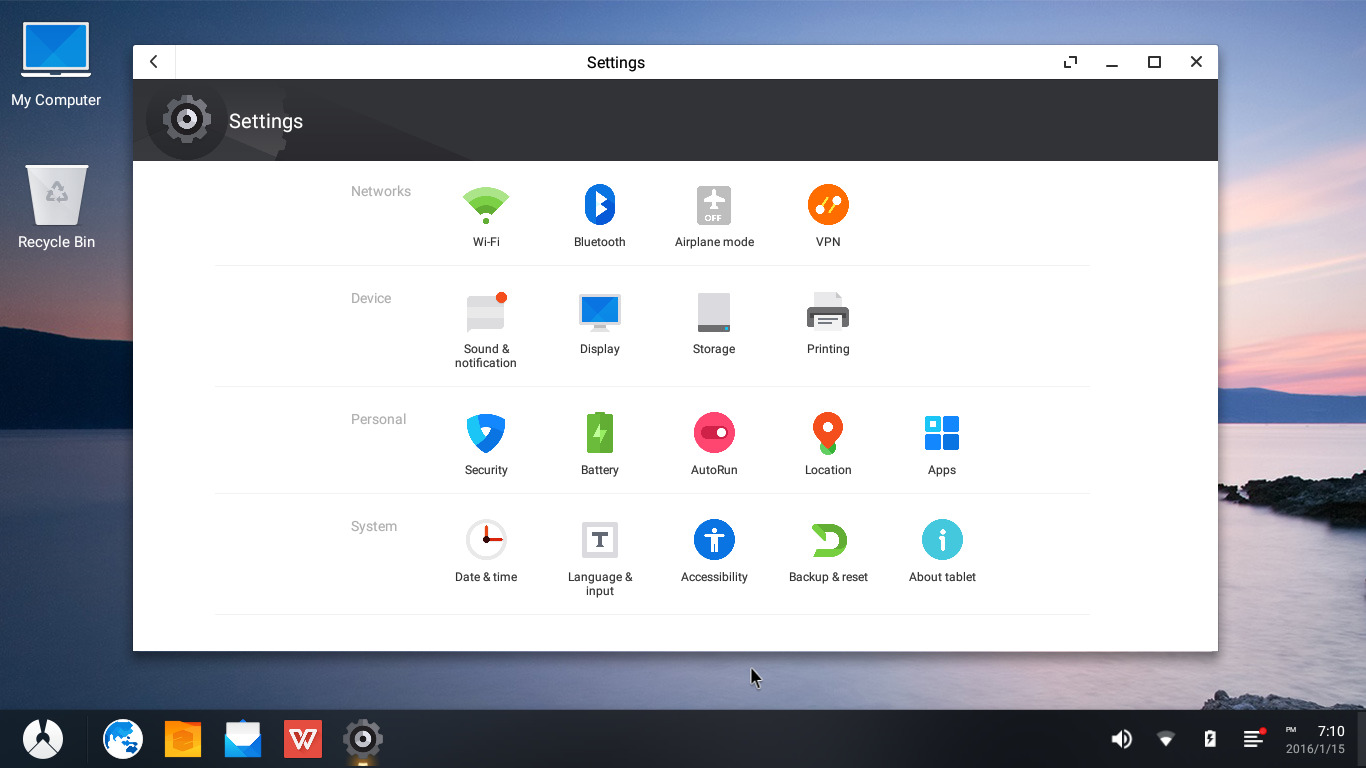
The latest version of the OS is based of Android 7.1 so you’re not going to be too far behind. Some classic Windows features have been imported inside Phoenix OS in order to provide a more desktop like experience. These include but are not limited to :
- The task bar,
- Start button
- Multi-window
- title bar for each Window with minimize, resize and close buttons
- Keyboard shortcut keys,
- Right-click for context menus.
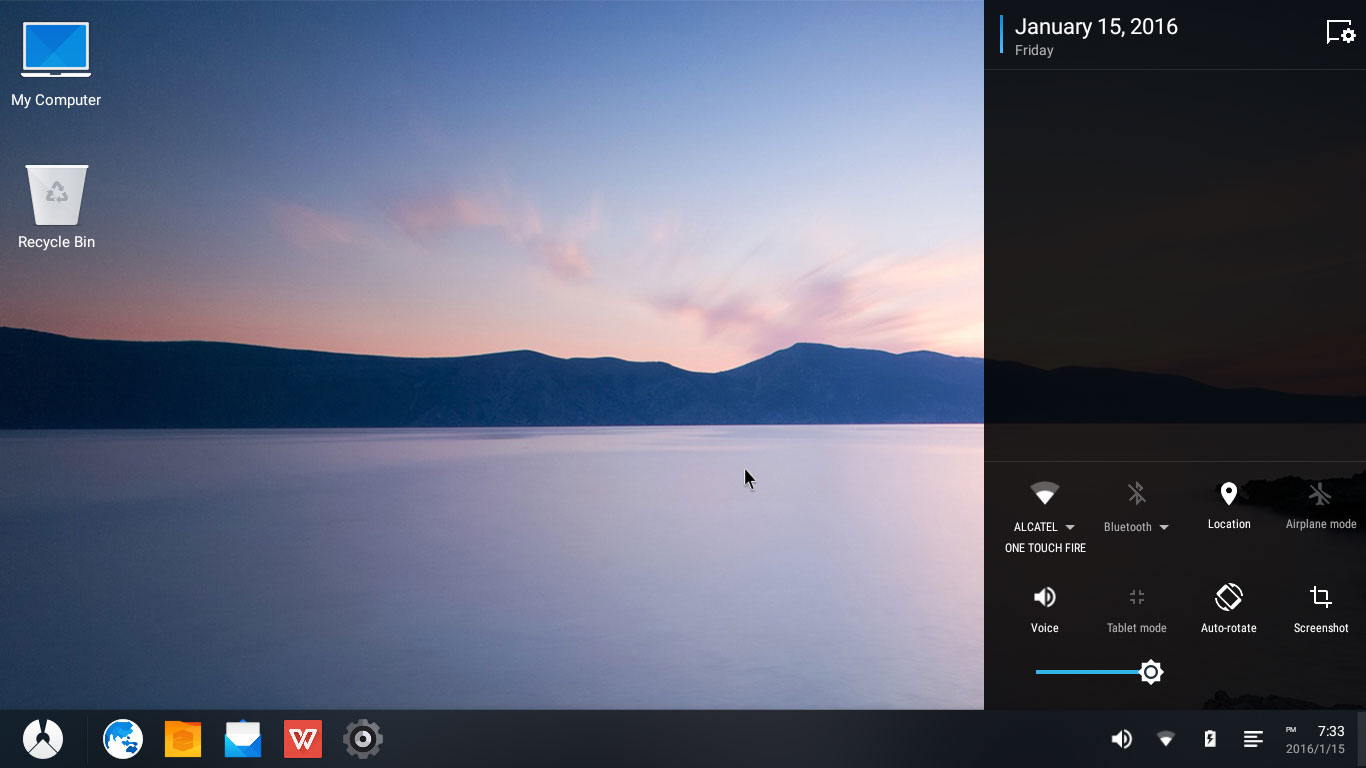
Also taking inspiration from Windows 10, Phoenix OS includes a notification center with some quick toggles. This can be accessed in a Windows-like fashion via an icon in the bottom-right corner. Whenever you get a New Message, a small red light indicator will appear on the notification button by which you can get to know that you have pending notifications.
Also read: How to Link Android to Windows PC for a More Seamless Experience
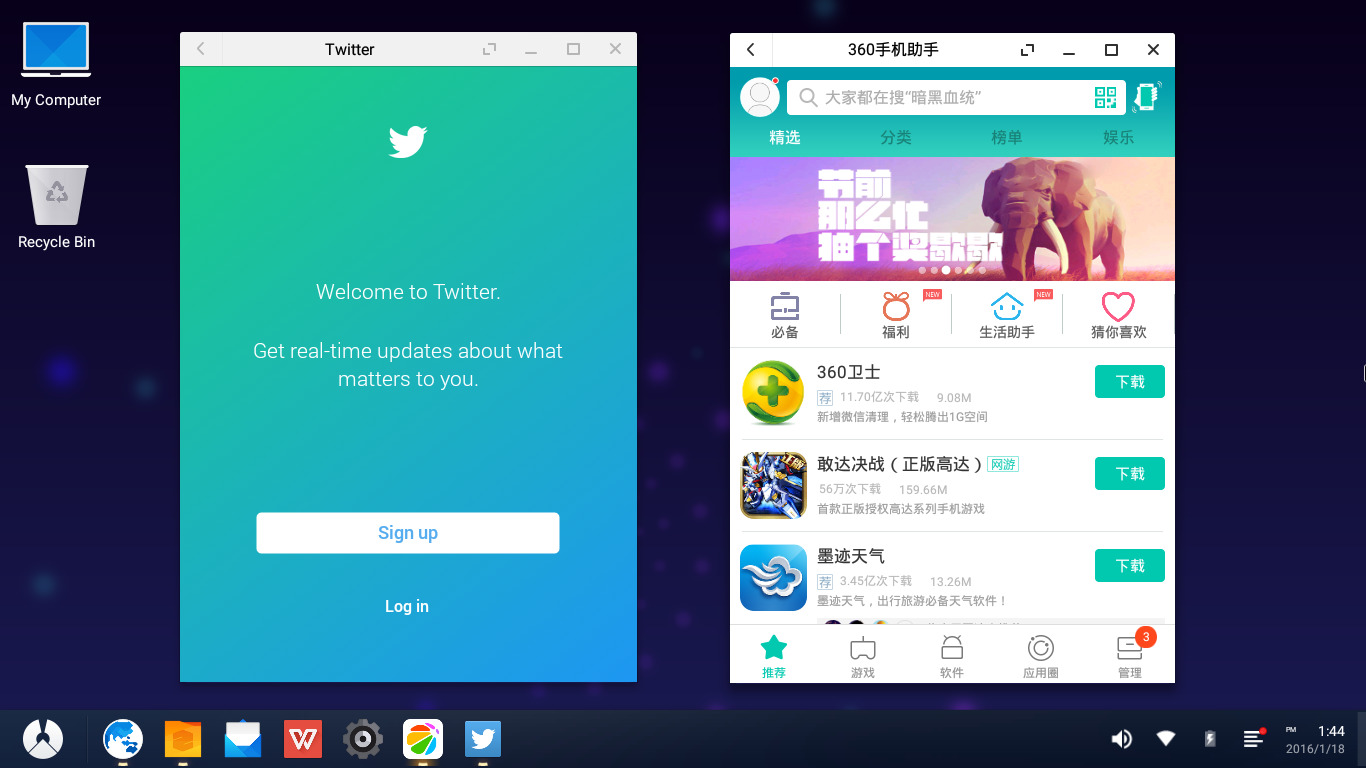
A desktop experience means more productive experience and Phoenix OS is designed to give you one. Therefore, Phoenix OS ships with pre-installed apps for Word, Powerpoint and Excel documents. You can even access your Windows storage from within Phoenix OS which is quite a convenience.
Note
There are a few things to keep in mind before installing Phoenix OS.
- You should make a backup even though the original data won’t be affected as the system is installed on the hard disk.
- We recommend that you use the system on devices with Intel Atom series CPUs, which will have the best compatibility.
- If you install the system on a USB drive, we recommend you use a USB drive with high performance and capacity of more than 6G. The low-speed USB drives will get stuck and operate slowly, affecting the user experience.
Download
As with any new operating system for your PC, it’s worth testing Phoenix OS in a VM before installing to the hard drive. But if you’re ready, head over to the official Phoenix OS download page. You can choose to download the Phoenix OS ISO image or the installer (recommended). For your convenience, we’ve linked the installers for 32 bit and 64 bit systems below.
Don’t miss: 10 Less-Known Android Tricks You Must Try
How to install
- Once you have downloaded the Phoenix OS installer, double click on it to launch it.

- Select Install and then select the Drive that you wish to install Phoenix OS on.
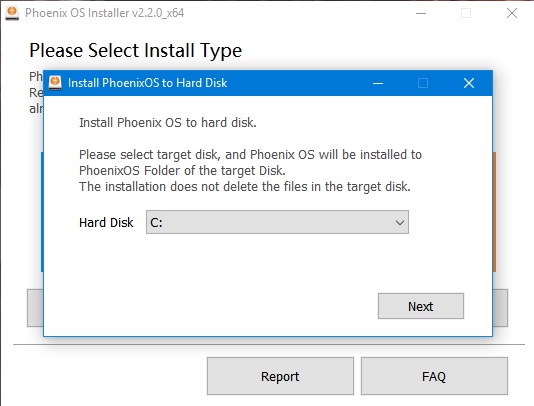
- Click Next and select the amount of memory space you wish to allot to the OS. You can choose between 4GB, 8GB, 16GB, and 32GB.
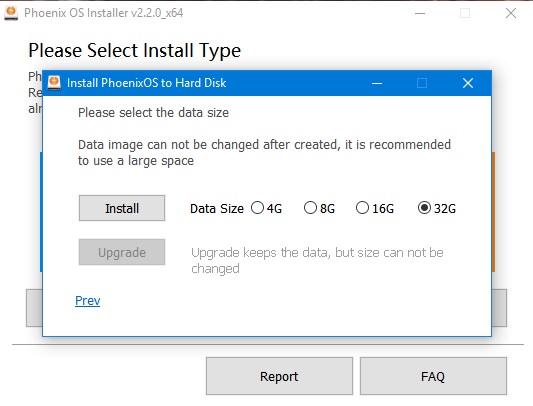
- Click the Install button when ready.
- If you wish to install Phoenix OS on a USB device, use a device with at least 6GB of free memory to your PC. Make sure it’s a USB 3.0 device since the OS will require at least USB 3.0 speeds to function properly.
- Connect the USB device to your PC and select the Make U-Disk option.
- Select your USB device from the drop down list in front of U Disk and click on the Write button.
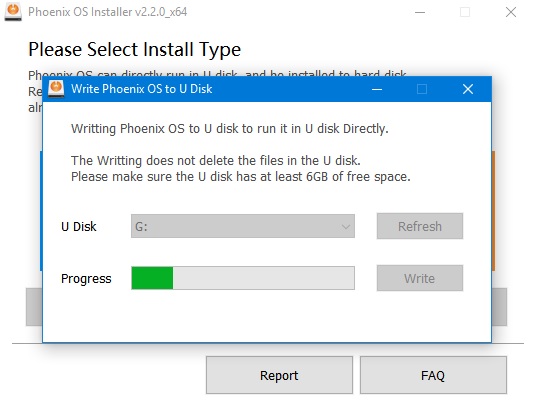
- The installer will take a while to write the OS to your Hard disk or USB device, whichever option you chose.
Must read: How to Sync Android Notifications to Your Windows PC


Join The Discussion: