Android Operating system is well known for its customization capabilities and vast developers network. The main purpose of the Open Source tag on Android is to allow developers to make their own modifications to the OS and publish the content for the public use. However, right from the inception of the smartphones, the multi-boot is a myth. Even the powerful smartphones were never released with multi boot capabilities, due to many reasons.
The Android is never designed for the multi-boot purpose, but various developers tried to modify the boot manager on Android powered smartphones, so that we can boot multiple OSes on our handy mobile devices. Now we have a few custom bootloaders that can run multiple Roms on our devices seamlessly. However, as any experimental feature you can expect a few bugs and little sluggishness, but it’s a little price to pay to get great features. Today we are going to guide you through the process on how to boot multiple Roms on your Galaxy S4 using a wonderful mod called MultiRom.
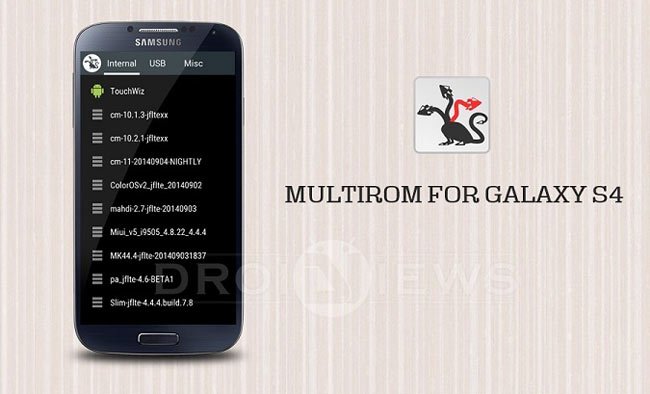
MultiRom is one-of-a-kind multi-boot mod for Galaxy S4 that helps in booting into several Roms just like you do on your PC. The main part of MultiROM is a boot manager, which appears every time your device starts and lets you choose which ROM to boot. ROMs are installed and managed via modified TWRP recovery which can be accessed in the same manner as you always do. You can also use nandroid backups as secondary ROM. The Roms can be booted both from internal and external memory.
During installation, recovery lets you select install location, so you can also use SDcard if your internal memory is too low. As a part of fundamentals, you can only create a 4 GB partition on a FAT32 system, if you want more then format the SD card to NTFS partition using a PC. If you’re clear with these, then let’s start with the guide to use MultiROM on Your Samsung Galaxy S4 GT-I9505
WARNING
This guide involves flashing files using a custom recovery and using custom partitions, which may void the warranty on the device. You alone are responsible for any consequences that might occur during the process. DroidViews or any of its community members shall not be held responsible for any damage to your device.
PREREQUISITES
- Charge your Galaxy S4 above 60% battery level to avoid shutdowns during the process.
- Backup your device storage, Contacts, SMS etc. using Google Sync service or any third-party app.
- The device mustn’t be Encrypted.
- Any Custom recovery on your device for flashing Zips. If you don’t have one, follow our CWM installation guide for the Galaxy S4 → Click Here
INSTALLING MULTIROM ON SAMSUNG GALAXY S4 GT-I9505
The MultiROM installation process is a 3-step process, so follow the procedure carefully to get through the guide without any hassles.
STEP 1: INSTALL MULTIROM
- Download the MultiROM mod for the Galaxy S4 → Click Here
- The downloaded file will be in a Flash-able Zip format that can be flashed using any recovery.
- Reboot your device into Recovery mode. The standard procedure to enter recovery on Galaxy S5 is to Turn off the phone then hold the Volume Up+Home+Power buttons together for 3-4 seconds. Alternatively, you can use a reboot manager app: [googleplay url=”https://play.google.com/store/apps/details?id=com.jc.rebootmanager”]
- Now flash the MultiROM package in the recovery.
STEP 2: INSTALL MODIFIED TWRP RECOVERY
- Download the Modified TWRP recovery for the Galaxy S4 → Click Here
- This modified TWRP recovery is tweaked for MultiROM mod and can be flashed using a recovery.
- Reboot your device into Recovery mode. The standard procedure to enter recovery on Galaxy S5 is to Turn off the phone then hold the Volume Up+Home+Power buttons together for 3-4 seconds.
- Now flash the Modified TWRP package in the recovery.
STEP 3: INSTALL PATCHED KERNEL
- If you’re on a CM11 or similar ROMs with the android_kernel_samsung_jf source, then you can skip this portion.
- Otherwise, download the patched kernel that is applicable for your device. (Only the base ROM needs to be patched with the kexec-hardboot)
- Kernels with kexec hardboot patch for AOSP 4.4 ROMs only:
- Alucard AOSP v2.7.2a
- KT-SGS4 AOSP
- Kernel with kexec hardboot patch for new CM11 builds (after SNAPSHOT-M9) only:
- Alucard AOSPv2 v1.4f
- KT-SGS4 AOSP
- Kernels with kexec hardboot patch for Google Edition 4.4 ROMs only:
- Alucard GE v2.2a
- KT-SGS4 GE
- Kernels with kexec hardboot patch for TouchWiz 4.4 ROMs only:
- Alucard TW v2.1a
- KT-SGS4 TW
- Kernels with kexec hardboot patch for AOSP 4.4 ROMs only:
- Reboot your device into Recovery mode. The standard procedure to enter recovery on Galaxy S5 is to Turn off the phone then hold the Volume Up+Home+Power buttons together for 3-4 seconds.
- Now flash the patched kernel package in the recovery.
That’s it, you can now use the MultiROM on your Samsung Galaxy S4. Now, you need to know how to multi-boot using this mod.
UPDATE/ CHANGE THE ROMS
Primary ROM (Internal)
- Flash ROM’s ZIP file, as usual, do a factory reset if needed.
Note: This process won’t erase secondary ROMs on your device. - In TWRP recovery, go to Advanced -> MultiROM and do Inject curr. boot sector.
Secondary Android ROMs
If you want to change the ROM, delete it or add new one follow these steps.
- Go to Advanced -> MultiROM -> List ROMs and select the ROM you want to update.
- Select Flash ZIP and flash ROM’s ZIP file.
If you want to un-install this awesome mod, follow the below process to remove the mod and all the secondary ROMs along with it. (We’re very sure that you won’t want to uninstall this cool mod)
UNINSTALL MULTIROM MOD
- Download the MultiROM uninstaller for the Galaxy S4 → Click Here
- The MultiROM uninstaller can be installed using a custom recovery, in this case, you’ll do it from the TWRP recovery.
- Reboot your device into Recovery mode. The standard procedure to enter recovery on Galaxy S5 is to Turn off the phone then hold the Volume Up+Home+Power buttons together for 3-4 seconds. Alternatively, you can use a reboot manager app: [googleplay url=”https://play.google.com/store/apps/details?id=com.jc.rebootmanager”]
- Flash the uninstaller package from the recovery menu.
It’s a lengthy guide, right? But we were sure that you don’t regret after everything is done.
Leave your feedback in the comments section below.


Join The Discussion: