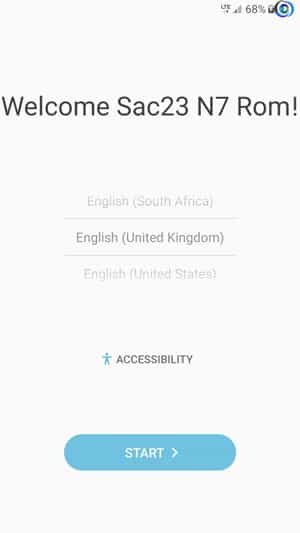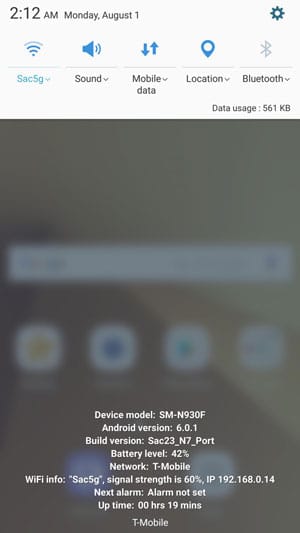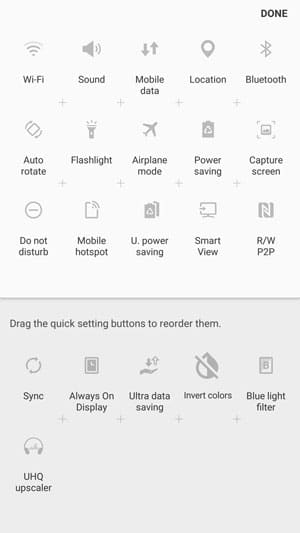
Galaxy Note series saw its newer member just a few days back and it has been very popular with the folks all around the world. Galaxy Note 7 has broken records for pre-order in South Korea and is in huge demand all over the world. Are you also excited about the Samsung’s newest flagship device or you are gonna stick to your Galaxy?
If you own a Galaxy S7 or it’s Edge variant you can enjoy the same software experience as the Note 7 by installing the ROM port of Note 7’s Grace UI. The newest version of TouchWiz that comes in the Note 7 has been named Grace UI and is the most trimmed down version of TouchWiz ever released. Grace UI also has some design inspiration from the upcoming Android Nougat. Have a look at the ROM’s screenshot to get familiar with the Grace UI.
ScreenShots
Things You Will Need
- Galaxy S7/S7 Edge with a Custom Recovery installed (Refer the guide linked below)
- ROM | Link
- SuperSU | Link
Also see: Install TWRP Recovery and Root Galaxy S7 Edge (SM-G935F)
Note: Make sure to backup your current ROM as advised in the steps given below. Also, make sure you have enough battery life before starting the process.
Instructions to Follow
For Galaxy S7 Edge
Step 1. Download the ROM from the link given above and transfer the zip file to your device’s storage. (Remember the location where you copy the zip file)
Step 2. Boot your device into Recovery mode to start the TWRP custom recovery. To do so, turn off your device then press and hold Power + Home + Vol. Down key for few seconds.
Step 3. Once you are in TWRP select Backup and select all the partitions to backup. Then swipe to start the backup process. You can later restore the backed up ROM if you want to return to your last ROM.
Step 4. After the backup process completes, go back to home screen of TWRP and select Wipe > Advanced Wipe and then select Data, System, Cache and Dalvik Cache partitions. Swipe to confirm the wipes.
Step 5. Now select Install option on the home screen of TWRP and then go to the location where you copied the zip file for the ROM. Select the zip file and swipe to start the installation.
Step 6. Install SuperSU zip file in a similar way to keep your devices rooted or it will not boot up.
Step 7. Reboot and Enjoy!
For Galaxy S7 (Non-Edge variant)
Step 1. Download the ROM and the kernel linked above and transfer them to your device’s storage.
Step 2. Follow the steps 2-5 from the above section.
Step 3. After completing step 5 from the above section, go back home screen of TWRP and select Install and select the kernel zip file. Swipe to confirm the installation.
Step 4. Do not forget to install SuperSU.zip file after flashing the ROM using Install option to keep your phone rooted or it will not boot up for lack of root access.
Step 5. Reboot and Enjoy!
Congrats! you have successfully installed the ROM on your Galaxy S7/S7 Edge. Enjoy the latest version of TouchWiz UI on your device and do let us know your views about the changes made in the newer Grace UI.
If you are not happy with the ROM or things don’t work as intended at your end then you may simply restore your backup using TWRP.
Feel free to drop your queries in the comments section below. We will try to resolve your issues as soon as possible.


You need to specify which models this ROM supports. I had a rooted SM-G935FD and followed your steps but it bricked my phone and I had to install stock ROM.
It works on all Exynos models of S7 and yous is an Exynos model too. As you the ‘bricked’ issue, such things happen after flashing ROM. You should have taken a backup of your previous ROM before flashing a new one.
Try the latest version: https://www.androidfilehost.com/?fid=529152257862665508