The long-awaited Android Oreo update for the Moto X4 started rolling out in the US as a Christmas gift and now it has made its way to the other regions. While it might take some time before you receive the Oreo OTA update notification of your phone, the full Android 8.0 firmware for the Moto X4 is already available and you can download and install Moto X4 Android Oreo firmware manually by following our step-by-step tutorial.
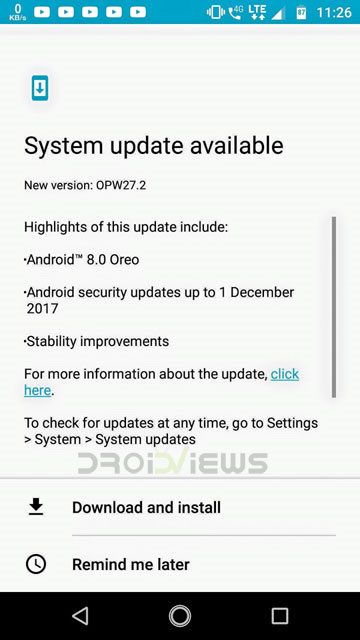
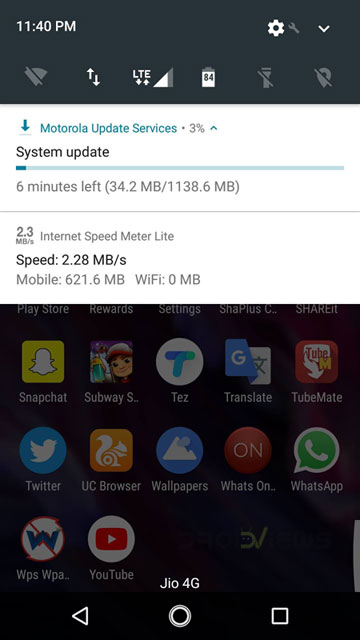
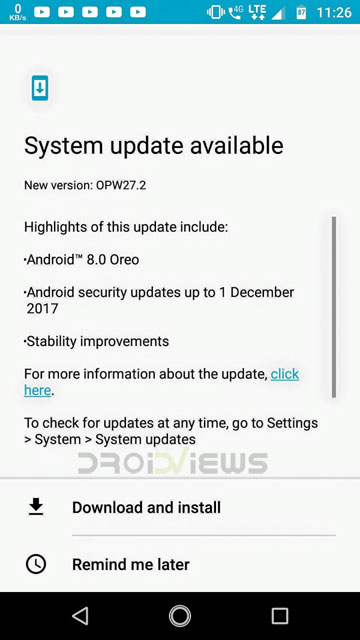
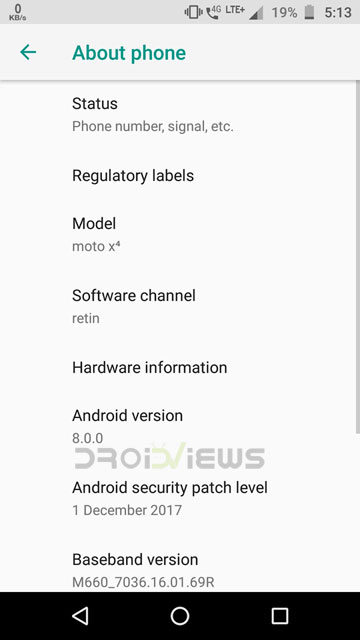
I already received the official Android 8.0 Oreo update on my Moto X4 as you can see in the following screenshot.
It’s useless to mention that Oreo is a major update for the Moto X4 as it brings a host of new features, performance improvements and bug fixes for better user experience. If you curious, let us list some of the major features that you’ll be able to enjoy after updating your Moto X4 to the latest Android Oreo update:
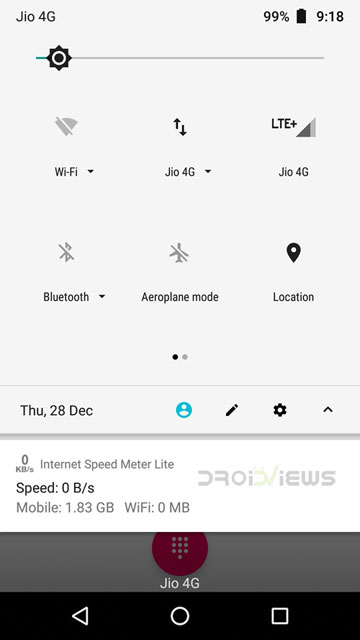
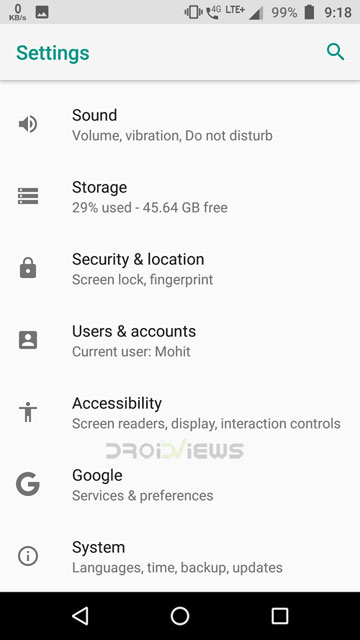
- New user interface for Settings and Quick Settings
- Faster booting
- Android Oreo’s signature PIP (Picture-in-Picture) mode.
- Adaptive icons
- Notification timeout
- Autofill for online forms and sign in pages while surfing on your phone’s web browser
- New Camera UI
- New Emojis
- Night mode
- Google Pixel Dialer + Calling Screen
- Motorola Suggestions
- Updated Motorola apps
- Android Security Patch Level: December 1, 2017
- Many others…
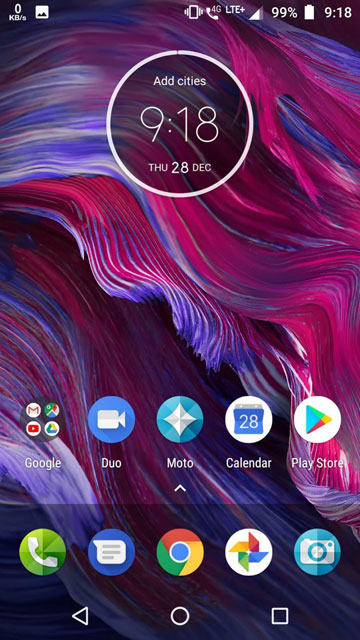
Moto X4 Android 8.0 Oreo Update Screenshots
Firmware Compatibility
Please note that the available firmware with build number OPW27.57-40 is meant for the Standard Global Variant of the Moto X4 (codename- “PAYTON”). However, considering the volume of users from different global locations (US, Europe, Asia, Latin America, etc.) who have already installed this firmware, it’s evident that this Oreo firmware has been found working flawlessly on different models of the X4, such as XT1900-1, XT1900-2 (Dual-SIM: Australia, India, Indonesia, Japan, New Zealand), XT1900-4 (Single-SIM: Latin America), XT1900-05 (Single-SIM: Europe), XT1900-06 (Dual-SiIM: Brazil), and XT1900-7 (European unlocked 64GB version).
Disclaimer
Please note the firmware installation procedure described below is a bit risky especially if it’s not followed carefully. Don’t proceed if you don’t understand what it is all about. Also, make sure to fulfill all requirements before installing the firmware.
Prerequisites and Downloads
- Make sure that your Moto X4 has an unlocked bootloader. You can unlock your phone’s bootloader using the instructions found on Motorola’s official bootloader unlock portal. In case you relock the bootloader after installing this firmware, you’ll get this message when your device boots: “Your device got different software version”. The only way to get rid of this message is to flash the firmware meant for your Moto X4’s exact model number.
- Installing the firmware will wipe the data saved on your phone’s internal storage. So, please backup everything you won’t want to lose before proceeding with the installation.
- Charge your Moto X4 to ensure no less than 70-80% battery level.
- Download and set up ADB and Fastboot on your computer or just download the Minimal ADB and Fastboot tool.
- Download the official Android Oreo firmware for the Moto X4: PAYTON_OPW27.57-40_subsidy-DEFAULT_regulatory-DEFAULT_CFC.xml.zip
Don’t miss: How to Root Moto X4 on Android Nougat and Oreo firmware
Steps to Install Android 8.0 Oreo Firmware on Moto X4
Having taken care of the preparatory steps described above and downloaded the firmware file, you’re all set to install it. Just follow the installation steps carefully.
- Make sure you have already installed the ADB and fastboot drivers.
- Now, extract the downloaded firmware zip file on your desktop and copy the contents of the file to the ADB and Fastboot folder.
- Enable USB debugging on your phone.
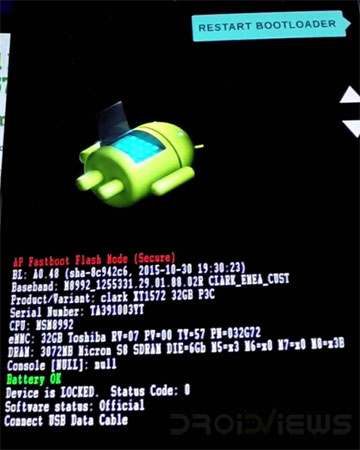
- Turn off your Moto X4 and reboot it into the Bootloader Mode by pressing and holding the Volume down + Power keys at the same time for a few seconds. The bootloader screen will look as follows.
- Now connect your Moto X4 to your PC using a compatible USB cable, preferably the one that came with your phone.
- Navigate to the ADB and Fastboot folder where you copied the firmware files and open the folder.
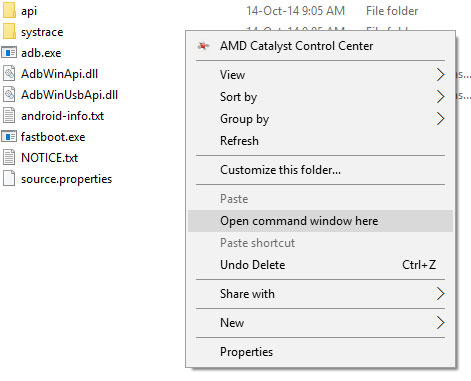
- Now place your mouse pointer at an empty space inside that folder window, press Shift key + right mouse button and select “Open command prompt here” or “Open PowerShell window here” (in Windows 10).
- When the command window is launched, type the following commands in the same sequence they have been listed below. Please note that if you have installed normal Fastboot, you need to use “fastboot” before all commands. In case you have installed minimal Fastboot (or mfastboot), you should use “mfastboot” before each command line as shown below:
mfastboot flash partition gpt.bin
mfastboot flash bootloader bootloader.img
mfastboot reboot-bootloader
mfastboot flash modem NON-HLOS.bin
mfastboot flash fsg fsg.mbn
mfastboot erase modemst1
mfastboot erase modemst2
mfastboot flash bluetooth BTFM.bin
mfastboot flash dsp dspso.bin
mfastboot flash logo logo.bin
mfastboot flash boot boot.img
mfastboot flash system system.img_sparsechunk.0
mfastboot flash system system.img_sparsechunk.1
mfastboot flash system system.img_sparsechunk.2
mfastboot flash system system.img_sparsechunk.3
mfastboot flash system system.img_sparsechunk.4
mfastboot flash system system.img_sparsechunk.5
mfastboot flash system system.img_sparsechunk.6
mfastboot flash system system.img_sparsechunk.7
mfastboot flash system_b system_other.img
mfastboot flash oem oem.img
mfastboot erase carrier
mfastboot erase userdata
mfastboot erase ddr
Having executed the above-listed commands, reboot your Moto X4. The first boot after flashing the Oreo firmware will take longer than usual so don’t panic and wait patiently until your phone boots up normally.
Done! You have successfully installed the Android 8.0 Oreo firmware on your Moto X4. Enjoy the goodness of the all-new Oreo update installed on your device!





Join The Discussion: