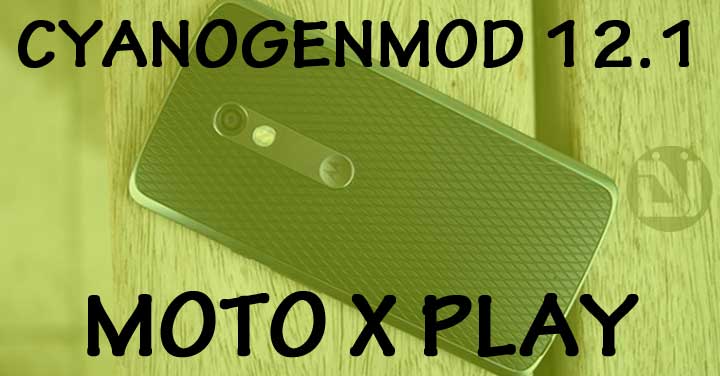
Often we see that when a new device is launched by a manufacturer, its inbuilt operating system may not always be up to the mark in terms of matching the hardware provided. One of Motorola’s newest devices launched this year the Moto X Play, I won’t say certainly but it does fall short in a few minor areas. It really has two main selling points – the huge battery that Moto claims should last you through two days, and a 21-megapixel camera. Having these two killer features on a mid-range smartphone really helps the Moto X Play stand out against an ever-increasing budget smartphone crowd that includes the fantastic, yet hard to buy OnePlus 2, Alcatel OneTouch’s Idol 3 and Honor’s 6 Plus.
Now we all know the benefits of what a custom ROM can bring to any device, and when that custom ROM happens to be CyanogenMod then I guess there’s no further explanation needed. Their latest version 12.1 update brings a host of goodies starting with a smarter screen to increased playback support that users can take advantage of on their Cyanogen OS powered devices.
And CyanogenMod 12.1 has officially added the Moto X Play to its roster too. One of the main highlights if the custom ROM is the Theme Engine which allows changing the look of the entire OS, along with adding various Icon packs, changing Boot animation etc. Given below are links and instructions on how to get the latest build for the Moto X Play.
Before downloading you’ll first require your Moto X Play to be running a custom recovery such as CWM/TWRP. Check out our guide on How to Root Moto X Play and Install TWRP.
Downloads
- Moto X Play (lux) CM12.1 — Download Here [cm-12.1-20150917-UNOFFICIAL-lux.zip (263.9 MB)] (Find the latest version of the ROM here.)
- Google Apps (Gapps) — Link
(Select these options: ARM64, 5.1 and Mini. Then click the download button.)
Note: The ROM is already rooted, but you need to enable it from Settings > Developer options. Enable the Superuser access from there.
Installing CyanogenMod 12.1
Step 1. Transfer the CyanogenMod 12.1 ROM and Gapps files on your Moto X Play internal storage.
Step 2. Boot your Moto X Play into recovery mode (Power off your device, Press and hold Power + Volume down to boot into fastboot mode, using the Volume buttons navigate and select Recovery to access TWRP menu).
Step 3. In TWRP, tap on Wipe, and swipe at the bottom to do a factory reset of your device.
Step 4. Now Tap on Install > locate the CM12.1 file and tap on it. Then swipe at the bottom to flash the update.
Repeat the same steps as above to install the Gapps file.
Step 5. Once you have flashed CM12.1 and Gapps, tap on wipe cache/dalvik cache button shown right after that.
Step 6. Then tap on Reboot System button to restart your Moto X Play.
And that’s it, you will now have Cyanogen 12.1 running in your Moto X Play. If you had any problems during the procedure do let us know in the comments below.


The RIGHT GAPPS to use is ARM (NOT ARM64), 5.1 and really reccomend stock instead of MINI (its all personal use, but i like stock more.)
the gapps arm64 dont run