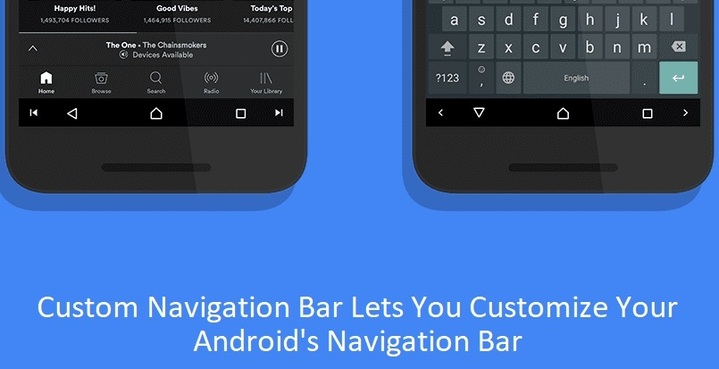
So Android O has finally, officially, opened the gates for some navigation bar customization. The feature was present on early developer preview builds of Android Nougat as well but it didn’t make its way to the official release. Nevertheless, Google did not remove all the code, but simply disabled it. It was a widely known fact among the developer community and they did make quite good use of the knowledge. Several apps on the Play Store allow you to customize different aspects of your device’s navigation bar and most of them work without root as well. Custom Navigation Bar is one such app that lets you customize your navigation bar even on Android Nougat.
You can add buttons, change the layout and there’s even Tasker integration. If you don’t use Tasker, it doesn’t mean much to you. For Tasker users, this means that they can add contextual navigation buttons. Unfortunately, the app won’t work on most heavy-handed OEM ROMs like TouchWiz or EMUI. It should work without problems for those with a Nexus, Motorola, OnePlus or Xperia device or any other device running a closer to the stock version of Android. It even works on custom ROMs as long as the ROM does not use the DirtyUnicorns smart bar. DirtyUnicorns is a ROM itself in case you hadn’t heard and several other ROMs such as Resurrection Remix, AOSPExtended, etc. use its smart bar feature. LineageOS users shouldn’t have much problem with the app though.
As already mentioned, the app does not require root access but it doesn’t hurt if you do have a rooted device. If you don’t have a rooted device, you will have to manually grant a WRITE_SECURE_SETTINGS permission. We’ve been seeing this a lot lately and this is almost always the case when an app promises to do something “without root.”
Don’t worry though because this is not a very difficult process, especially if you’ve done it before. If you’ve never used ADB commands, it might seem like a daunting task but it’s not. It is as simple as copying and pasting a line of text, which in this case is an ADB command. There are a few things you’ll need before we proceed.
Requirements
- You will need to install ADB and Fastboot on your computer so that you can push an ADB command, thus granting the said permission. Windows users are recommended to install Minimal ADB and Fastboot. If you’re a Mac/Linux user, we also have a guide to help you install ADB on your Mac/Linux desktop.
- If you’re using a Windows PC, also make sure that you have the necessary USB drivers installed for your Android device.
- On your Android device, enable USB Debugging, found in Developer options. If you aren’t familiar with those names you might want to check out our guide.
Install Custom Navigation Bar
[googleplay url=”https://play.google.com/store/apps/details?id=xyz.paphonb.systemuituner&hl=en&gl=us&rdid=xyz.paphonb.systemuituner”/]Grant permission
- Assuming you meet all the requirements and have the app installed on your device, connect your phone to your computer.
- Now launch the ADB interface. On a Mac or Linux machine, simply launch a Terminal window. Windows users can search for “Minimal ADB” to launch the program.
- Whether you use Windows, Mac, Linux or anything else, the adb commands are the same. So in the command prompt window (or terminal), enter the following command.
adb devices
- You should see a dialog box on your phone asking you to Allow USB Debugging. Allow it.
- Now enter the commands below to grant the WRITE_SECURE_SETTINGS permission.
adb shell pm grant xyz.paphonb.systemuituner android.permission.WRITE_SECURE_SETTINGS
- Disconnect your phone now and launch Custom Navigation Bar.
- Swipe through the setup pages and tap the next button on your navigation bar. If you don’t see a “next” button on your Navigation bar after tapping the START button, the app isn’t compatible with the ROM on your device.
Play around and customize your Navigation bar
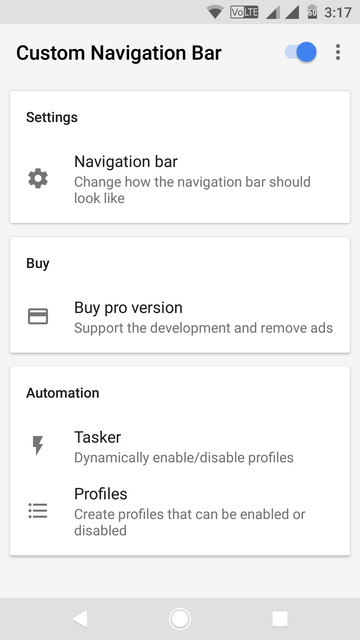
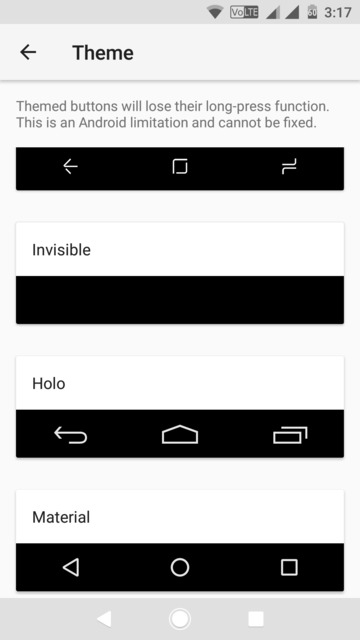
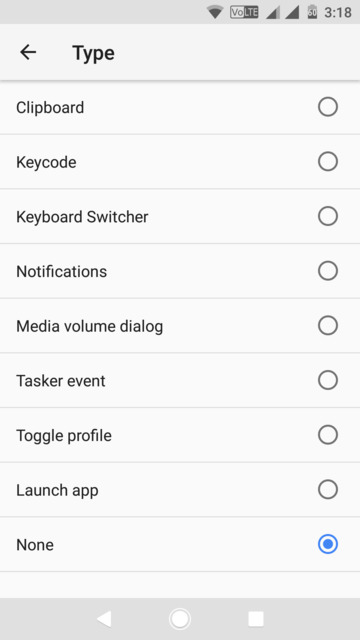
The app isn’t all that difficult to use and it does not appear that way either. Everything is very neatly categorized on the main page. If you want to start customizing your navigation bar right away just select the Navigation bar. Here, you will find the options to change the layout, change the button size, look and feel, add an extra button on the right and left, that sort of stuff. You can even replace the default back, home and recents buttons for something else.
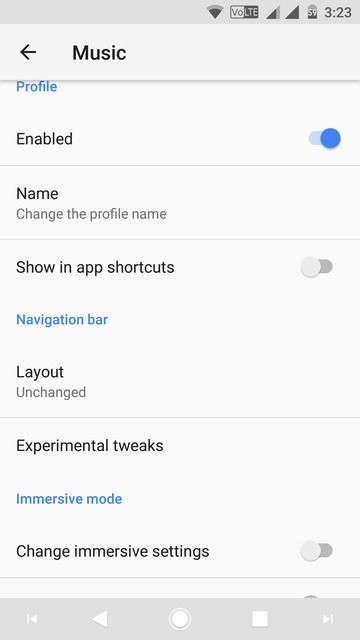
When you feel familiar with the settings, you can also create profiles by selecting Profiles from the main page. These profiles usually have to be enabled or disabled manually. The app does provide app shortcuts for the same, accessible via a long press on the app icon. There’s also the Tasker integration which Tasker users can use to automate the profiles.
All in all, it is a pretty useful app, especially for those who have familiarized themselves with Tasker.


Join The Discussion: