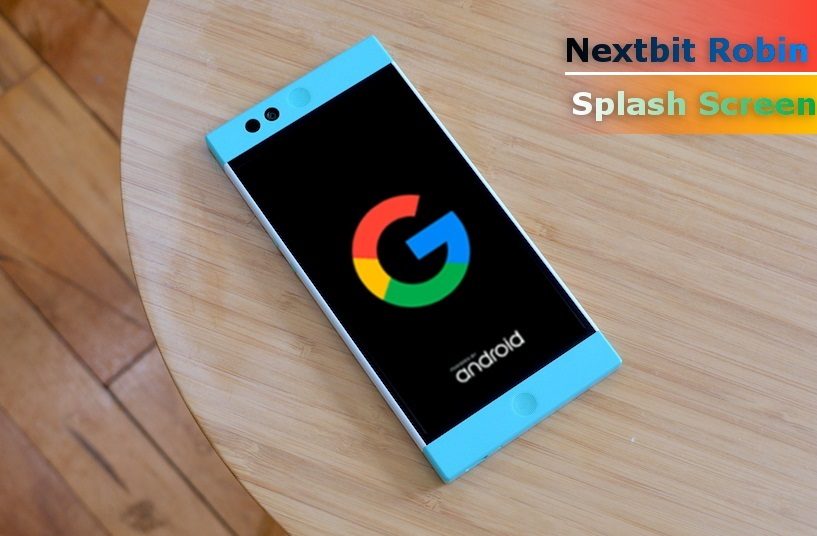
Nextbit Robin, a unique device in itself, has a lot of unique and useful features. The device is seasoned with a completely different look from the hardware as well as from the software side. However, the thing which takes some people by surprise is that the device comes with an unlocked bootloader. Let’s keep all other things aside for the moment and take a closer look on how to create custom boot logo for the Nextbit Robin.
Boot logo is also called as the splash screen if you know it by that name. In simple terms, it is basically the first screen which appears after boot. In other words, the image which appears before the boot animation. Don’t confuse between the two terms. Boot animation is completely different that boot logo. The former is an animation while the latter is a still image.
Nevertheless, some people don’t like the original boot logo. Generally, they are stuck with it because they don’t know how to change it or find the process to risky. Well in this post we will not only tell you how to change the boot logo but also tell you how to create one yourself. Trust me the process is easy.
Requirements
- Download the Nextbit_Robin_Splash_Maker.zip and extract it
- A 1080×1920 PNG format image to use it for the boot logo
- Download the robin_nextbit_stock_splash.zip
How to Create Custom Boot Logo
- Rename the image- logo.
- Then, Paste the image in the \NextBit_Robin_Splash_Maker\pics folder (Make sure to delete the previous logo image).
- Next, run the CREATE_LOGO.bat (A terminal window will pop-up).
- Type yes and hit enter.
That’s it! Pretty simple isn’t it. Now the fun part. Let’s flash it. There are three methods of doing this. I’m going to describe all the three. Choose according to your preference.
How to Change the Boot Logo
Method I
- Navigate to \NextBit_Robin_Splash_Maker\output folder.
- Then, copy the flashable_splash.zip file to your device’s Internal Storage.
- Power off your device.
- Reboot into fastboot mode (To do so hold the Volume Down + Power Button at the same time until the Nextbit logo).
- From here select recovery (Use Volume Buttons to navigate and Power Button to select).
- When in recovery click on Install.
- Navigate to the directory where you placed the flashable_splash.zip file.
- Click on it and swipe right to flash it.

- Finally, select Reboot System from the option below.
Method II
- Navigate to \NextBit_Robin_Splash_Maker\output folder.
- Then, copy the splash.img file to your device’s Internal Storage (sdcard\splash.img).
- Open the Terminal Emulator app on your Robin (If you don’t have then download it from the Google Play Store).
- Next, type su in the Terminal Emulator and hit enter (This will ask for root access).
- Grant SuperSU permission.
- Finally, enter the following code in the Terminal Emulator,
dd if=/sdcard/splash.img of=/dev/block/bootdevice/by-name/splashand then hit enter.
Method III
- Make sure you have the latest ADB and fastboot drivers installed (If not download from here and install it).
- Enable USB debugging on your device (A quick google search will tell you how to enable it).
- Connect your device to the PC using USB cable.
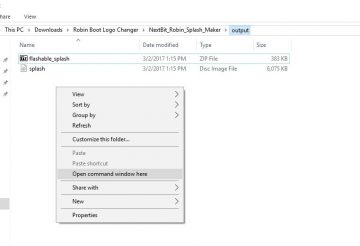
- Navigate to \NextBit_Robin_Splash_Maker\output folder.
- Then, hold Shift + Right Click» Open command window here (A terminal window will pop-up).

- In the terminal type adb devices and hit enter (This should list your device).
- Next, type
fastboot flash splash splash.imgand hit enter.
- Finally, disconnect your device from the PC.
In order to revert back to the stock boot logo just flash the robin_nextbit_stock_splash.zip using method I mentioned above.
That’s it, Guys! It can’t get more simple than this. However, if you still have any doubts then let me know in the comments section below. I will be happy to help.


Join The Discussion: