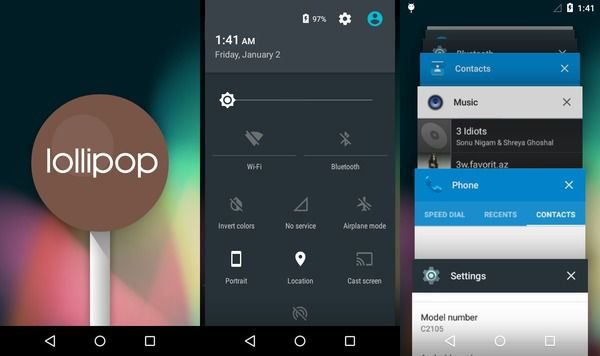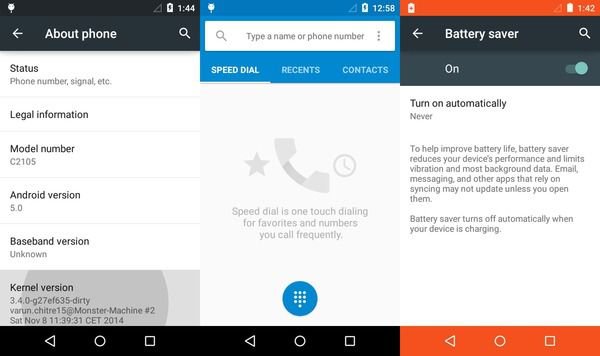
It’s been a busy week with all the developers and manufacturers going crazy and releasing the Lollipop builds for various devices. To the contrary, mum’s the word from the folks at Mountain View and the Nexus users are still waiting for the Lollipop update. In the last couple of days we have seen a few devices getting the Lollipop love either in the form of official OTA or leaks and ports, but most of them are flagship devices except for the Galaxy S3 mini. Now Xperia L joins the league of big boys with an unofficial port from XDA developer varun.chitre15. Don’t believe it? Just take a look at the below screenshots.
Sony Xperia L may never get an official update from the manufacturer as it’s older than the 18-month policy of Google. The latest Lollipop port finally shed some light on the doomed Xperia L users. The ROM is pretty functional for an alpha build, but the RIL and other connectivity issues still haunt the build.
The Lollipop port doesn’t come in a flashable zip format, so you need to do a dirty flash with few fastboot commands. Well don’t worry, we will guide you through the process of getting the Lollipop love on your Xperia L.
Warning
This guide is intended only for the Sony Xperia L, not for any other device. Be extra cautious when you choose the ROMs as flashing wrong ones might result in a bricked device. You alone are responsible for any consequences that might occur during the process, we shall not be held responsible for any damage to your device.
Prepare Your Device
- Charge your Xperia L above 60% battery level to avoid shut downs during the process.
- Backup your device storage, Contacts, SMS etc. using Google Sync service or any third-party app.
- Download and install Sony Xperia USB drivers on your PC.
- Enable USB Debugging on your Xperia L. Read our guide to get instructions on how to do so.
- Unlock bootloader of your Xperia L.
Downloads
ROM file: Download
Fastboot file: Download
Install Lollipop based AOSP ROM on Xperia L
- Download and extract the fastboot file on your PC. You’ll get the following file:

- Download the ROM and extract the files to the same folder where you extracted the fastboot files. You’ll get these three files after extracting the ROM.
- boot.img
- system.img
- userdata.img
- Now boot your Xperia L into Fastboot mode:
- Power off your Xperia L.
- Plug in the USB cable to the PC but don’t connect the other end to the phone yet.
- Connect the other of the cable to the device while holding down the Volume Up button to enter the fastboot mode.
- Navigate to the fastboot files folder and open a command prompt inside the folder by pressing Shift key + Right click in the empty space inside the folder, and select Open command window here option from the Windows context menu.
- Execute the following commands in the command prompt one after one and wait until the process finishes successfully.
fastboot flash boot boot.img
fastboot flash system system.img
fastboot flash userdata userdata.img
- Now you can reboot your device by using the following command:
fastboot reboot
The reboot may take time for the first boot, so be patient and excited at the same time.
The ROM doesn’t include the Google apps and services, so you have to flash the Android 5.0 Gapps from the link below. However, we’re not sure this package will work for you but it’s worth a try.
Share how the ROM is working on your Xperia L in the comments section below.


Join The Discussion: