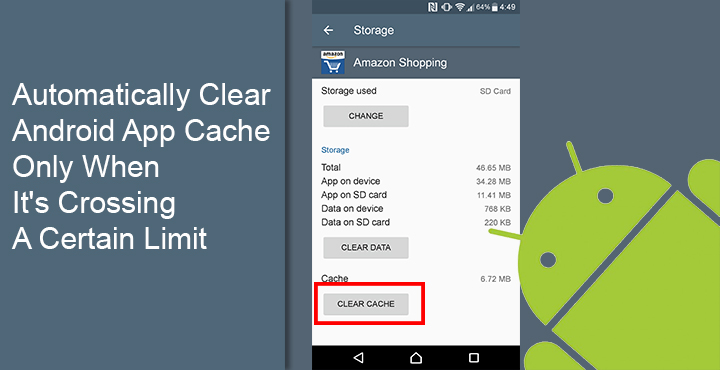
Smartphones have truly brought forth the age of the internet, or is it the other way around? From ticket-booking apps to gallery apps, we install a whole lot of apps on our smartphones. These apps tend to store small bits of data on your phone. This is done so that the next time you launch an app, the process is a bit faster. It also consumes less data. But the cache isn’t really an essential part of an app, and the apps don’t really require it to work. So, it’s useful, in a way, but also not so important. There are a lot of apps on the Play Store that will tell you to clean this cache terming it as junk, and many people would do it too. It’d be better if an app could automatically clear Android app cache only when it’s crossing a certain limit.
This way, you still get to enjoy faster app loading and save some mobile data while doing it without having your storage filled up. You won’t be waiting for the gallery app to load the image thumbnails which is what happens if you use any of the usual cache cleaning apps. Thanks to XDA dev Dhi‘s new Xposed module which can automatically clear cache when your apps reach a certain threshold.
Don’t miss: Schedule Your WhatsApp Status Photos with XStatus Changer
Requirements
- This being a Xposed Module, you will, of course, require the Xposed Framework.
- Your device must be rooted.
- Make sure Unknown sources is enabled in Settings > Security.
Install Cache Catcher Xposed Module
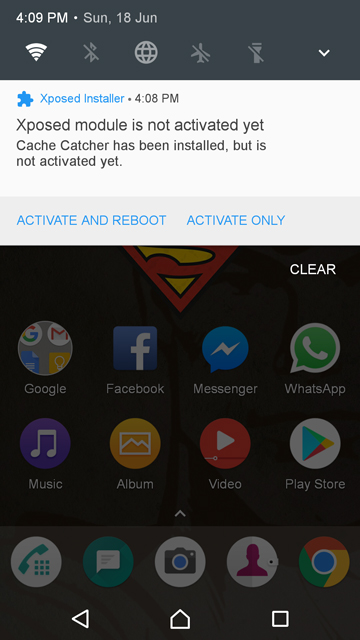
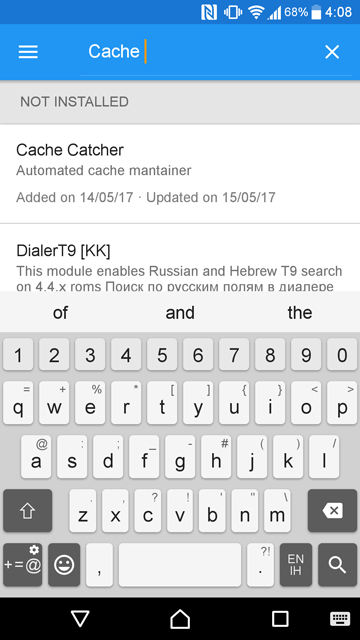
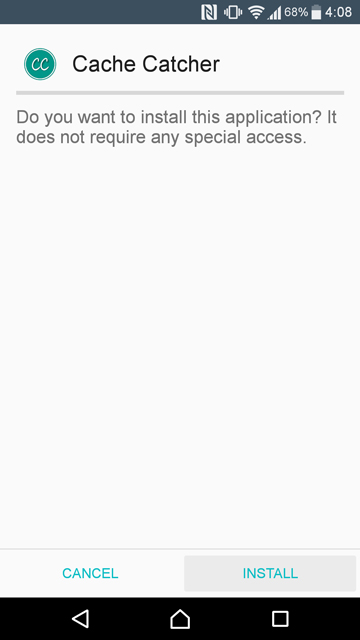
Assuming that you meet the requirements, go to the Xposed Installer app and head to the Download section. Search for Cache Catcher and install it. When the installation is finished, go to the Modules section and enable the newly added module. Then reboot your device. Ideally, you should get a notification as soon as you install the module. You can simply tap Activate and Reboot on this notification instead of manually enabling and rebooting.
You can also download the APK from the Xposed repository using a web browser and install it like you normally install an APK.
Also read: 10 Xposed Modules You Should Try Right Now
Max Cache Size
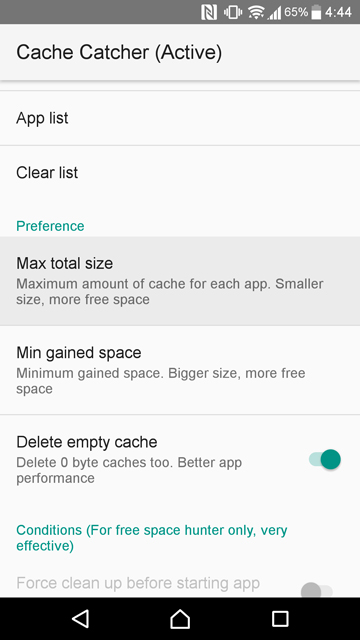
Launch the Cache Catcher app that you should find in your app drawer. Here, it is best to familiarize yourself with at least two settings: Blacklist mode and Max total size.
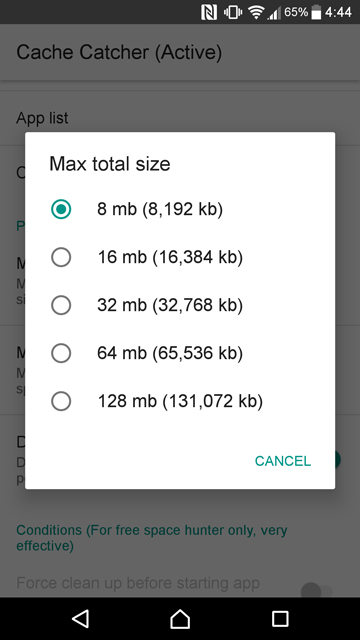
The default max size for any app’s cache before it is cleared is set to 8MB. But, this is a bit aggressive and kind of defeats the purpose of only clearing cache when it’s exceeding a limit. If you’re not really struggling for an extra 100 megabyte of space on your device every day, it is best to set the size to something more reasonable.
Blacklist mode
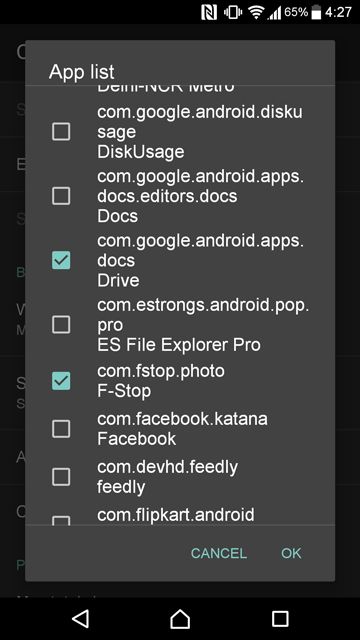
The other setting mentioned before, i.e. Blacklist mode is also important because certain apps don’t take their cache being cleaned very well. If there are some apps that are troubling you after enabling automatic clearing of cache, you can come back to Cache Catcher, tap on App list and add the app to the blacklist. The App list, instead of clearly showing app names, shows package names instead so it is a little difficult to find the app you want.
Whitelist mode
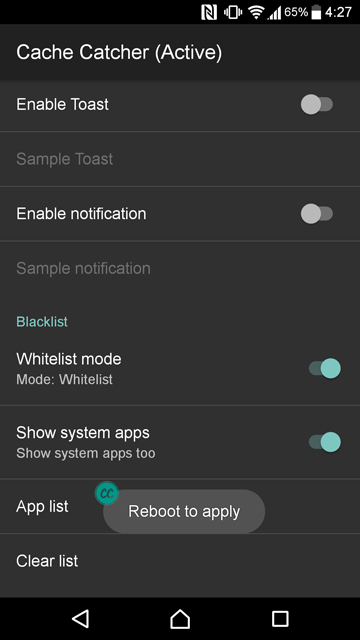
If you find yourself blacklisting more apps and leaving less of them, you might prefer the Whitelist mode instead. To enable it simply toggle on the Whitelist mode switch. Now any app you check in the App list will be added to the Whitelist. Meaning only the cache for the apps you select will be cleared out upon passing a certain threshold set by you. All the other app that you don’t select will remain unaffected and continue to pile on heaps of cache.
You may also like: 4 Awesome Gboard Tricks You May Not Know
Any changes you make to the Cache Catcher settings require a reboot which it will let you know each time via a toast message. Other than that, the app works on its own without ever needing an input from you, unless you want to change something again.


Join The Discussion: