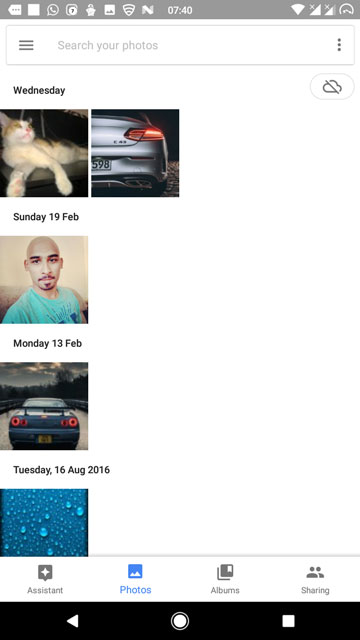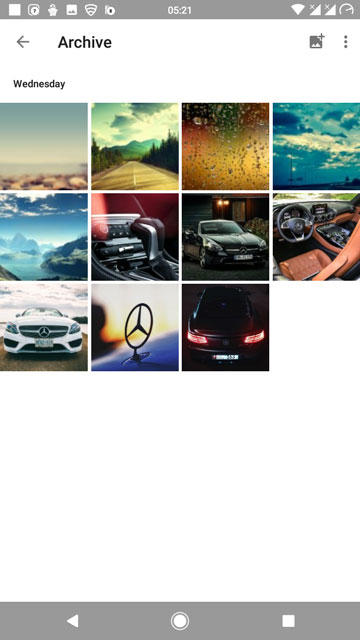
Lately, Google has been adding a lot of smart new features to Google Photos. Recently Google has added a feature called Archive, which well, basically is to de-clutter your main Photos view and keep it looking clean and organized or maybe let’s say that you do not want certain pictures to be in the main Photos view. Google Photos will also suggest you de-clutter if it finds duplicated pictures. Archived pictures will still be shown in the Search results and Albums view. Here’s an easy tutorial to help you archive your pictures in Google Photos.
Don’t miss: Use Google Photos More Efficiently with These Tips and Tricks
To Archive your pictures, just follow these simple steps mentioned below.
- Launch Google Photos.
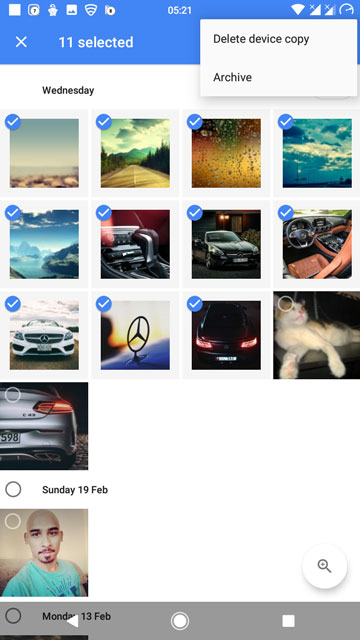
- In the Photos view, Tap and hold to select a picture and then mark all the pictures that you want to archive.


- Tap the ellipsis button or more commonly called the overflow button located on the right-hand corner of the screen and tap Archive.
Now you might be wondering, where are all the archived pictures gone. Don’t worry, just follow the steps shown below.
- Tap the three-line button or most commonly called the hamburger menu button located on the top-left hand corner of the screen to access the hamburger menu.


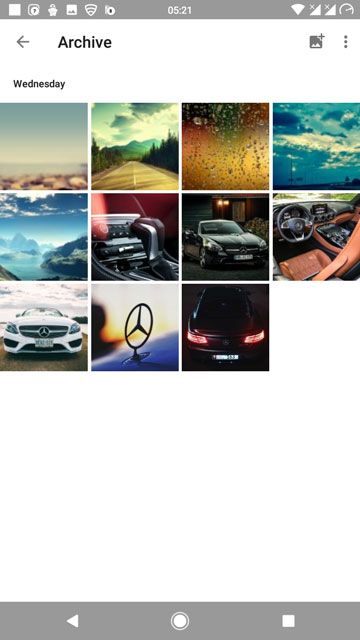
- From the hamburger menu, select Archive to view all of your archived pictures.
So, there you go on how to archive your pictures in Google Photos and keep your Photos view clutter free. Most, if not all phones come with Google Photos, installed out of the box. If your phone does not have this app installed, then head over to the download link given below. Feel free to chime in the comments on your experience with Google Photos.
[googleplay url=”https://play.google.com/store/apps/details?id=com.google.android.apps.photos”/]


Join The Discussion: