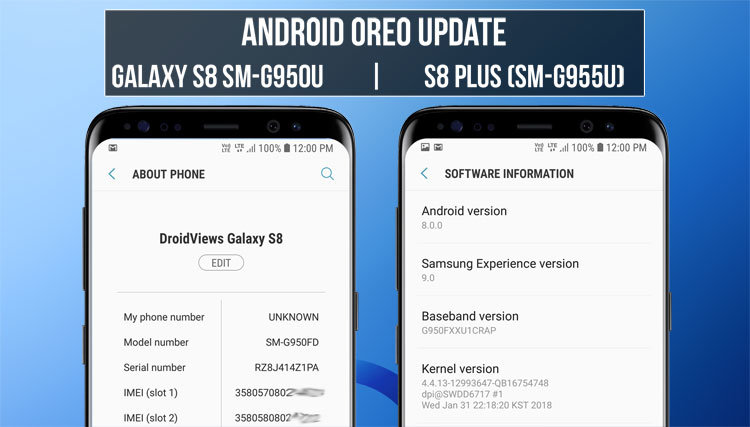
The Samsung Galaxy S9 and S9+ 2018 flagship devices maybe the latest and greatest from tech giant Samsung. But that doesn’t mean the predecessors of the said devices, the S8 and S8+ are outdated or not of any relevance anymore. In fact, the S8 and S8+ are still one of the best flagship devices out there considering the fact that this year’s flagships are just incremental upgrades over the same. Speaking of incremental updates, the S9 and S9+ feature a new variable aperture lens for its camera system which allows the devices to switch from f/2.4 to f/1.5 depending upon the lighting conditions. This feature helps a user capture detailed photos in challenging lighting conditions. This is definitely a useful feature for photoholics. However, for most users out there rocking their trusty S8 and S8+, this may or may not be a game changer due to the fact that the camera on same was nothing short of spectacular.
Coming to the point, Verizon has finally released the Android 8.0 Oreo update for the S8 and S8+ Snapdragon variants. This one has to be flashed via the trusty and dependable Samsung devices flash tool called Odin. Speaking of which, the Exynos variant of the devices have received the update last month or so. This update for Snapdragon S8 and S8+ bring along with it the February security patch and the Oreo specific features such as Notifications channels, notifications snoozing, Picture-In-Picture mode and much much more. By the way, who would forget the pièce de résistance of this update, the Samsung Experience UI also has some new features and additions up its sleeve bumping up its version to 9.0. Update your devices by following the tutorial detailed below if you aren’t patient enough to wait for the OTA update.
Let’s get prepared:
- First and foremost, Download Odin3_v3.13.1 which is the official Samsung flash tool required to flash the firmware on its Galaxy devices.
- Enable USB Debugging
- Make sure you backup all of your important files and data from your S8 to your computer or any storage of your choice.
- Fully charge your device’s battery or ensure your device has at least 50% or higher battery power to avoid any interruption during the update.
- Lastly, for this update, you need to have an SD card inserted to copy the firmware update files and extract it within the SD card.
Download the Oreo firmware and update files:
The firmware packages and update files (to be flashed later via the SD card) are attached below are only applicable to the Snapdragon variant of the Galaxy S8 and S8+, specifically G950U and G955U respectively. Download them via the links given below.
Base Nougat firmware file for Snapdragon Galaxy S8: G950USQS2BRB1
Base Nougat firmware file for Snapdragon Galaxy S8+: G955USQS2BRB1
Oreo update file for S8 (SM-G950U): Update.zip
Oreo update file for S8+ (SM-G955U): Update.zip
Flash Android 8.0 Oreo on Galaxy S8 and S8 Plus:
1. Before proceeding to flash the firmware, make sure your device model number is G950U or G955U by navigating to Settings > About phone.
2. Download the Odin flash file linked in the Firmware package section above. Download only the file corresponding to your phone model.
3. Create a new folder in the root directory of your external SD card and rename it to fota. Copy the update.zip file (linked in the firmware package section above) to the fota folder you just created. If you do not have an SD card inserted, you can skip this step but you will still need this OTA file on your computer to complete the update process to which I will come to in a bit.
4. Extract the Odin flash file (.zip file) you had downloaded earlier in step 2.
5. Turn off your device and then hold the Bixby + Volume down + Power buttons simultaneously to enter download mode.
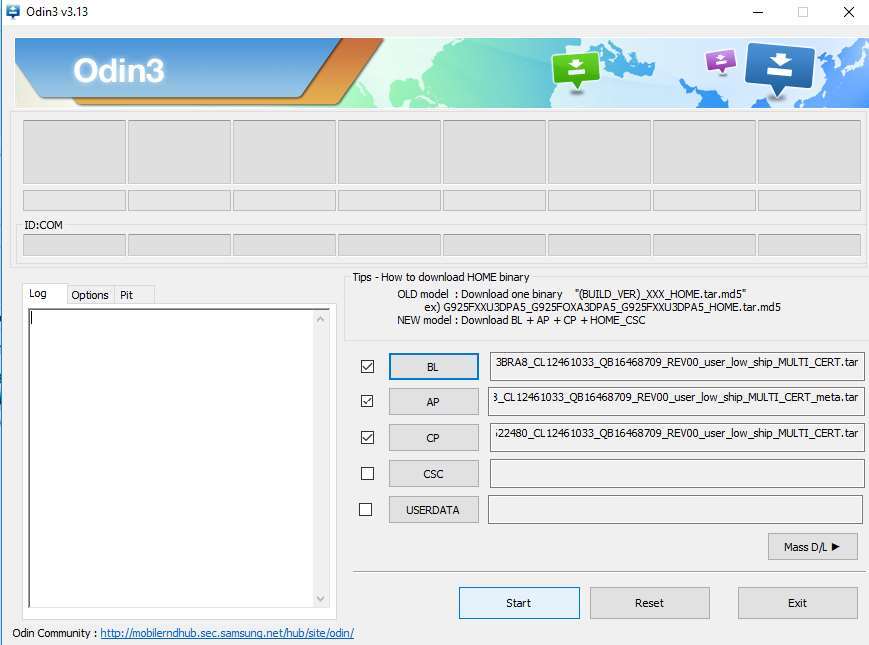
6. Download the Odin flash tool that I linked in the Let’s get prepared section above. Connect your phone to your PC and then launch Odin. Once launched, you will see five sections on the right side of the Odin interface named BL, AP, CP, CSC, and USERDATA. However, for this particular tutorial, we will only use the first three sections.
7. Click the BL button and then go to the Odin flash file folder where you extracted your flash files. Next, select the BL file. Repeat this step for AP and CP files.
8. Now that you have selected all the files, click Start to begin the flashing process. After the flashing process is complete, your phone will reboot.
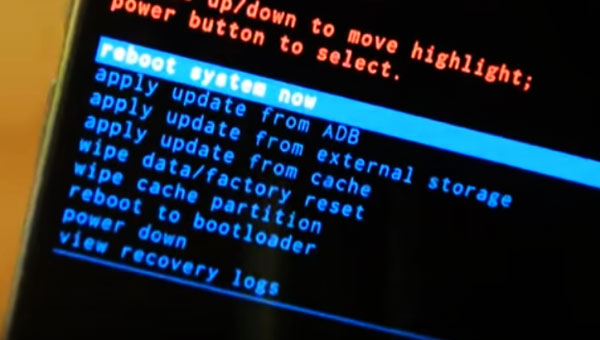
9. As soon as your phone reboots, switch it off immediately and then reboot to recovery mode by holding the Bixby + Volume up + Power buttons simultaneously.
10. Once booted into recovery, navigate the recovery menu by using either volume buttons. To select an item, press the power button. Navigate to and select apply update from external storage and find the update.zip file that you transferred to your SD card in step 3. This is the OTA update file.
11. If you have not inserted an SD card into your device, navigate to and select apply update from ADB. To use the ADB method, on your PC, open a command prompt by pressing Windows key + R key on the keyboard and then type cmd. Next, type adb sideload and then press Enter. To be able to use ADB commands, you must set up ADB and fastboot on your PC first.
So that’s all folks, a detailed guide on how to install Oreo on the devices mentioned above. Thanks to Max Weinbach over at XDA Developers for this helpful tutorial. Chime in the comments section below on your take and experience with the update. Make sure you all follow the guide carefully to avoid any issues while performing the update. Importantly, please refer the disclaimer below.
Disclaimer: DroidViews won’t be held responsible for any bricked devices, failure from the user’s part in following the instructions carefully or any other issues that would crop up during or after the update. Flash at your own risk.


Join The Discussion: