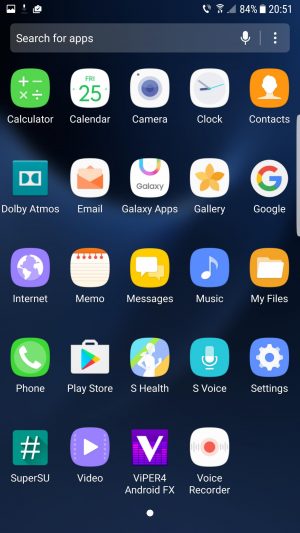
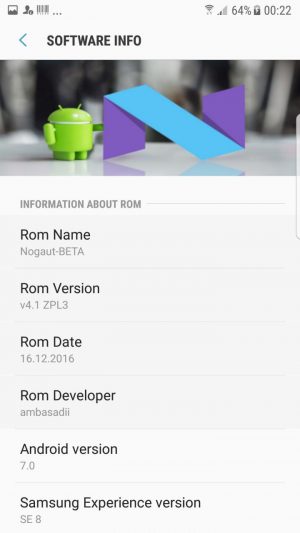
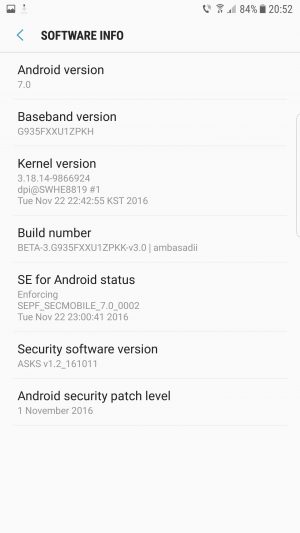
As we all know the Nougat beta version for the Samsung Galaxy S7 Edge was released a few weeks ago. The earlier beta versions were buggy and used to get laggy at times. But the developers have hammered it. I’m glad to inform that the beta 6 version of the Nougat is better, faster and more customizable. Of course, this ROM is based on the stock Android Nougat Beta firmware. Just it is running the latest Android version. We all know why you are here. So let us get started.
Note- This ROM is only for the models S7 Flast (SM-G930F) and S7 Edge (SM-G935F).
Prerequisites
- Download the ROM and copy it to the external SD card: BETA-6.G93xF.XXU1ZPLN-v6.0.by.ambasadii.zip
- TWRP (herolte) for S7 Flat or TWRP (hero2lte) for S7 Edge (Copy to PC)
- Odin v3.12.3
- no-verity-opt-encrypt-2.2.zip (Copy to external SD card)
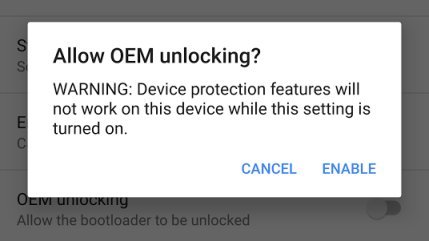
- Make sure Developer Options is turned On and OEM is Enabled
Warning- We at DroidViews won’t be responsible for any damage you make to the device. However, if you follow the steps correctly we ensure that you will face no issues.
Steps to Flash TWRP Recovery
- Reboot the device into the Download mode.
- Connect it to the PC and open the Odin software on the PC.
- Odin will detect your Device.

- Untick the Auto Reboot option in the Odin software.
- After that, select Position AP.
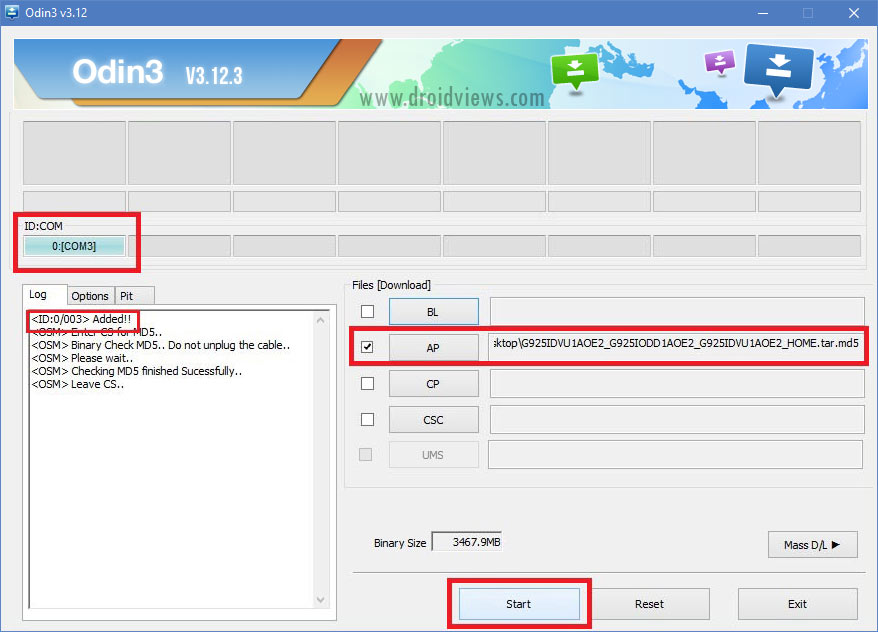
- Then, navigate to the directory where you downloaded the TWRP recovery file.
- Select the file.
- Then, click on Start.
Wait for the process to complete. This will install TWRP on the device.
Steps to Boot into Recovery and to Setup Environment
- After the above flashing process is complete reboot the device manually into recovery mode. (Hold Volume Up + Home + Power at the same time).
- Release all the three buttons when the screen flashes and you see a warning sign.
- Press Volume Up to continue to the main screen of the Recovery mode.
- After entering the recovery, go to Wipe and select Format Data.
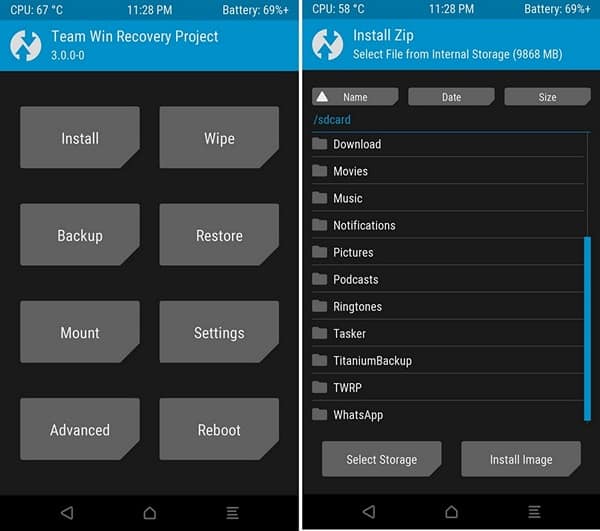
- Type ‘Yes’ and swipe right to allow data format. (Note- This will clear the phone memory and not the external SD card memory).
- Now, head over to TWRPs main screen and select the reboot option.
- Then, click on recovery.
- Confirm ‘Allow Modifications’, if asked by the recovery.
- After the reboot is complete, select the Install option.
- Then, navigate to the directory where you kept the no-verity-opt-encrypt-2.2.zip file.
- Click on the file and swipe right to flash it.
- Follow steps 6, 7 and 8 to reboot into recovery.
Steps to Install the ROM
- After following all the above steps, go to Wipe»Advanced Wipe.
- Check Data, Cache, System, Dalvik Cache.
- Then, swipe to allow the modifications.
- Now, head over to the TWRPs main screen and select the Install option.
- Navigate to the directory where you place the ROM.
- Select it and swipe right to flash it.

- Wait for the process to complete.
- Finally, reboot to system from the Reboot option in the TWRPs main screen.
Phew.. This sure was a heck of an explanation. If you have any problems or queries related to this post, feel free to let us know in the comments section below. For more information on the ROM check this link out.
Additional Steps to Install the SystemUI Mod
- Download the SystemUI Mod v4.1.2 and copy it on the external SD card.
- Turn off your device.
- Reboot into recovery (Check steps 1,2 and 3 from above to reboot into the recovery).
- Select the Install option.
- Navigate to the directory where you kept the zip file.
- Click on it and swipe to flash it.
- Clear Cache and Dalvik Cache.
- Then, reboot into the System.
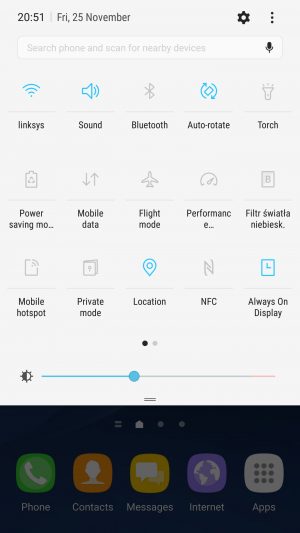
This is a UI mod that adds more flexibility to the ROM. It will allow more customizations and tweak option such as 3 Minit Battery Clock and more. Check this link to find out. This is DuelistRaj, Signing Off.




Join The Discussion: