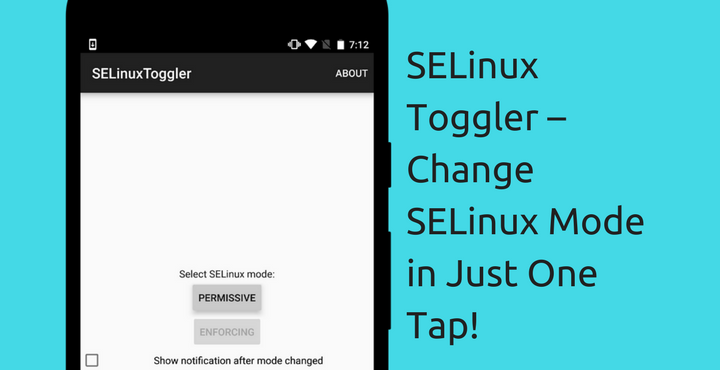
If you are a long time Android user and have the habit of flashing Custom ROMs on your device, then you would have definitely noticed how hard has it become to even just root your device. When I was using my good old Samsung Galaxy Y, I could simply flash a zip file through stock recovery and get root. It was as simple as that. Google has been working actively on making Android rooting hard. Can’t really blame them, they want their OS to be as secure as possible. ‘SELinux’ was one such thing that was introduced into Android in Google’s attempt to make Android Secure.
What is SELinux?
SELinux is a Linux kernel security module that was implemented into Android Ecosystem in Android 4.2. Don’t get the wrong idea that it is a bad thing, no. It is actually a huge step towards making Android more secure which is a good thing for an average Android user. It is the custom Android universe that got affected by this change.
SELinux is interlaced within the Android core system and then the Mode is set to ‘Enforcing’ by default (the other value is ‘permissive’). This prevents apps from doing anything they don’t explicitly ask permission (from the user) to do, particularly when it comes to changing system files/features. Any attempt made by apps to change system files/features are denied by default and are logged.
Must read: What is NFC? How to Use It in Awesome Ways!
Why would you want to change SELinux Mode if it is actually a good thing?
Almost everyone in the Android world would have heard this – ‘You can do anything with your Android device if it’s rooted’. With SELinux, that changed. Even root apps are denied certain permissions. Certain root apps need the SELinux to be ‘permissive’ in order to work properly – for example, Xposed Framework Module. Below is a brief explanation of what the ‘Enforcing’ and ‘Permissive’ SELinux modes do:
Enforcing: Any process/service that is not explicitly allowed by the user to change any system file/feature is logged, and the permission denial to do so is enforced. So even if you have root, you won’t be allowed to perform certain actions.
Permissive: If you are able to change it and set SELinux to Permissive, those specific processes/services that change system files/features will only be logged and the permission denial will not be enforced.
With SELinux mode set to ‘Permissive’, root apps will once again have full control over the Android System.
Also read: Give your Navigation Bar a New Look Every Week with Substratum
SELinux Toggler
There was, indeed, an app called ‘SELinuxModeChanger’ which allowed root users to change the SELinux Mode. But the developer of the app has stopped any further development and the app has since been deprecated.
This where SELinux Toggler comes into the picture. XDA member Ibuprophen has decided to continue the good work that SELinuxModeChanger started and has developed the app ‘SELinux Toggler’. The app is brand new and supports all Android versions starting Android 4.2 till Android Nougat!
Download and Install SELinux Toggler
The developer offers two methods for its installation. You can either download the .apk file > copy it to your phone > simply tap on it to install as normal APK.
- You can either download the .apk file > copy it to your phone > simply tap on it to install as normal APK.
- Or you can download the .zip file and flash it via TWRP Recovery, neat!
Note: It is very important to note that the app needs root (SuperSU, preferably) and Busybox installed on your device to work.
Recommend for you: Find Out Who is Stealing Your WiFi Data and Block Them
Once you have successfully installed the app, simply tap on the icon in your homescreen to open the app. You will be prompted to grant root permissions, do the honors and that’s pretty much the setup process. Simple!
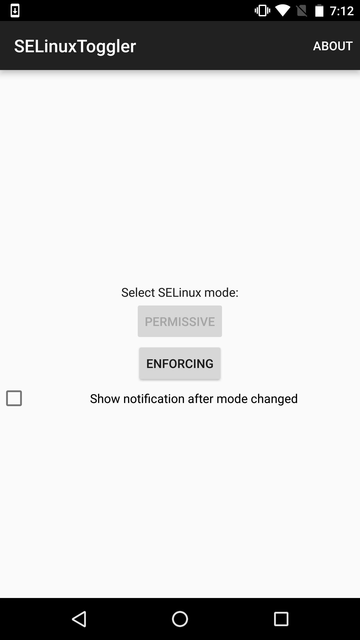
Once you are inside the app, you can simply tap on ‘PERMISSIVE’ or ‘ENFORCING’ as per your need.
Limitations
The one little limitation with the app is that it does not make permanent changes to your device’s boot script. Even after the SELinux mode is set to permissive, your device first boots up in ‘enforcing’ mode. Then once the boot sequence begins the auto-launching of the apps, this app will automatically launch and change the devices SELinux Mode that the user last selected for the devices SELinux Mode.
Editor’s pick: Some Magisk Mods to Get You Started
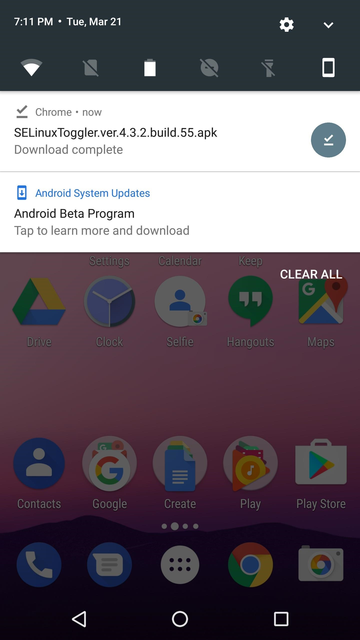
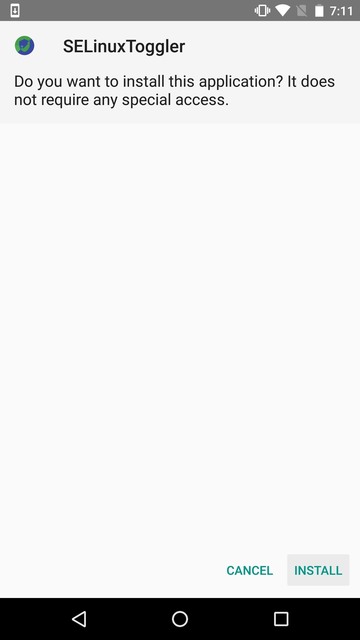
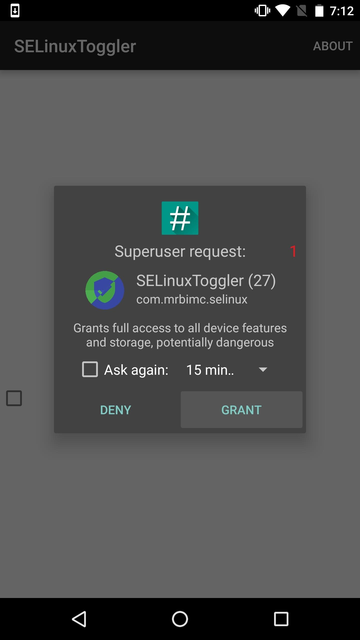



As the developer for The SELinux Toggler, this project has been DISCONTINUED for a new app.
Please locate the “The SELinux Switch” Thread on the xda-developers Forum, as titled below, For Continuing Development
[APP][TOOL][4.2+][OFFICIAL]The SELinux Switch
Thank you!
Ibuprophen
xda-developers
simple but not working
By stating that something doesn’t work without asking for support within the appropriate xda-developers Forum Thread (where the appropriate support is provided) doesn’t help make it work.
Thank you.
I have asked, it is rom dependent, so I have installed another rom which has inbuilt selinux switch, no need of third party apps.