In a previous tutorial, we showed you how to create your own live wallpaper application. This time, we are going to take you a step further into customization-land and show you how to create your own Android Widget, with a simple step by step guide.
As with the Live Wallpaper App, there are many different tools that you can use. Below are in my opinion, the 2 best options, when it comes to creating your own Android Widgets. These applications work in exactly the same way, so I tried to create a different object with each one of them.
You will notice that both the clock and the music player that I created, fit seamlessly into the general theme of the device. It is not necessary for you to do the same.
1. Zooper Widget
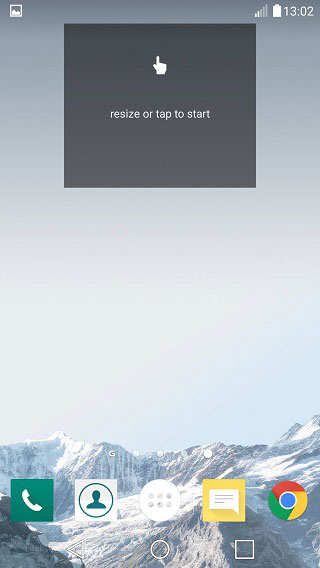
Zooper is a free application focusing on the creation of clock, weather, and battery widgets. After you install the application, tap and hold on your home screen in order to add a Zooper widget (you can resize it later). As with all of the following apps, you first have to add the widget on your screen and then customize it to your liking.
I also changed the wallpaper, so as to create a clock based on its color scheme. Tap on the widget you added and choose the style of your clock (or weather/battery) widget. You will then be presented with a screen, detailing all of the objects present on your widget.
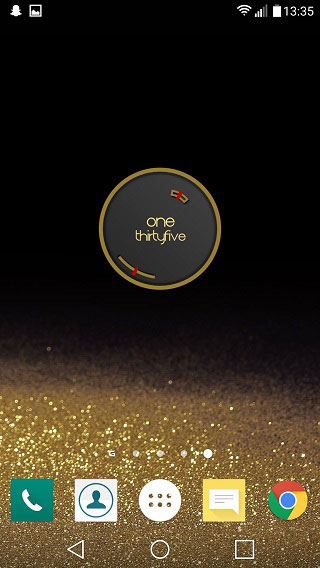
You can customize each one of them separately. This gives you the opportunity to create a truly unique clock for example. Here is what I created using Zooper Widget.
Yes, it was as simple as that. To be more precise, I simply added the clock and changed the colors to match those on the wallpaper. Note that I used photoshop to find the Html code of the color. If photoshop is not available to you, you can find an Html code of an image by using this site below.
2. Buzz Widget
Buzz, is another free and beautiful application, working in exactly the same way with Zooper. With Buzz, however, you can add and edit music player widgets. This is what I will do with this app, and actually, create a Music Player Widget from scratch.
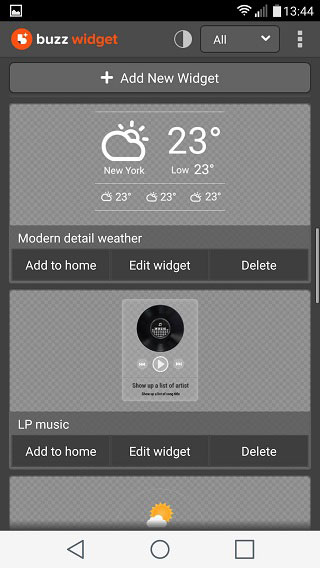
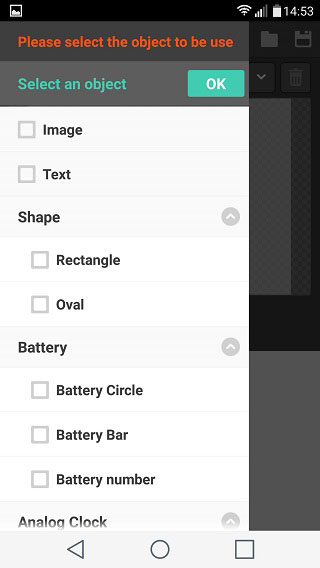
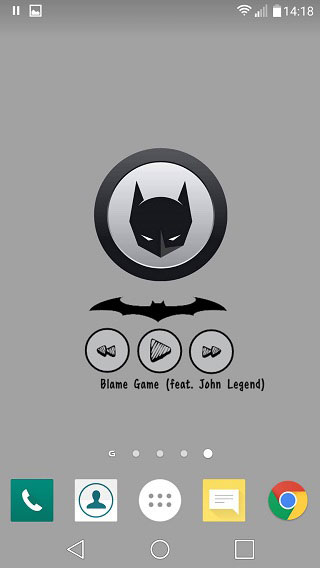
Following the same steps as before, add a buzz widget on your home screen and tap on it. (I changed my wallpaper once more, so as to create a batman themed music player). Then tap on “Add New Widget” and choose the items you want to be included on your custom Widget. I used 3 oval shapes, a play button, a forward and backward button, as well as an image and a text object.
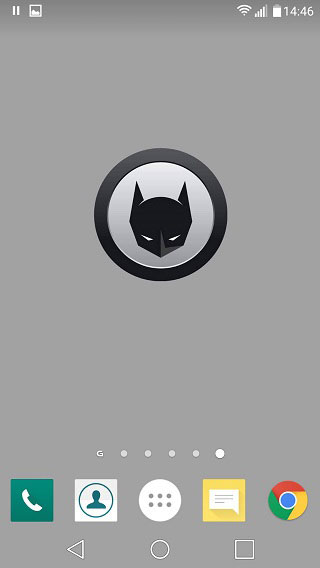
Resize, change the style and the color of your objects and you are good to go. Below is a before and after picture of my home screen. Notice how integrated the music player is.
There are much more free applications that do the same thing. All of them, however, work in exactly the same way. So keep this tutorial in mind when trying to customize your Android device. Have fun.
Did this tutorial help you out? Have you already created your own Widget? Do you like those that I have created? Comment below, asking questions and giving your opinion.
Read Next: Add Widgets to Android Screensaver with Widget Screensaver



Join The Discussion: