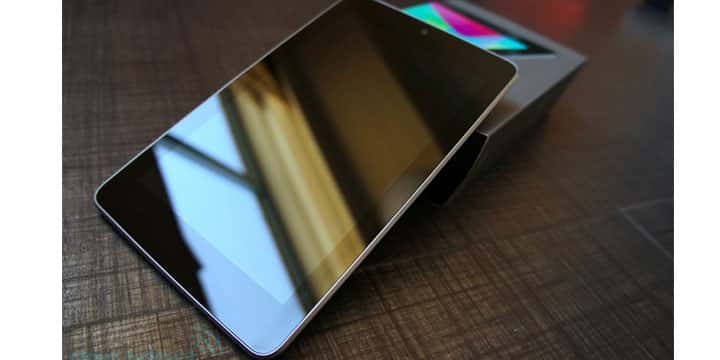
The CyanogenMod community has released it’s new CM 13 ROM for many Android devices. The newest among them is the Nexus 7 both, WiFi and the LTE variants. Recently, several devices from other manufacturers like the LG and HTC received the official support. This was followed by the Nexus devices like the Nexus 6P and the Nexus 5X.
CyanogenMod is known to build some of the best third party ROMS for Android devices. Nightlies are stable as they are being developed for a long time now. The best part about CM 13 ROM is that it’s lightweight, fast and most importantly Android 6.0 Marshmallow based. Along with the latest Android software, the ROM sports exclusive feature and functionalities too.
As the ROM is official, stability and bug-free OS can be expected. Besides the ROM, you will also find a new CyanogenMod custom recovery image file in the recovery. This is a new custom recovery from the community meant for easy OTA updates. However, TWRP will work just fine with this release.
For the latest updates stay tuned and let’s begin with the tutorial.
Warning: Warranty may be void if you root or install custom ROM on your device. We at DroidViews won’t be liable for any damage to your device whatsoever. We won’t be held responsible if you brick or damage your device. Reader’s discretion is advised.
Downloads
- Official CyanogenMod 13 ROM for Nexus 7 WiFi and LTE 2013
- CM 13 ROM for Nexus 7 WiFi — Download | File: lineage-14.1-2018xxxx-nightly-flo-signed.zip
- CM 13 ROM for Nexus 7 LTE — Download | File: lineage-14.1-2018xxxx-nightly-deb-signed.zip
- Marshmallow compatible Google Apps
Requirements
- The listed custom ROM is compatible with Nexus 7 WiFi (flo) and LTE 4G (deb) 2013 variants only. Do not try it on any other device or variant.
- Make sure you have TWRP recovery installed on your device. Download and install the latest TWRP build. Refer to our detailed tutorial.
- You must have device drivers installed on your PC so as to transfer the ROM and Google apps to your device’s storage. Download here.
- You must fully charge your device or at least to 60%, as the process may take a while.
Backup your Apps and Data
Before you proceed, make sure you backup all your data. This process will wipe all the data from your device except for the internal storage. Hence, a full backup or nandroid backup is recommended. Also backup all your internal storage files just in case anything goes wrong. Take a nandroid backup from the custom recovery before flashing the ROM.
How to Install Official CyanogenMod 13 on Nexus 7 WiFi and LTE 2013
- Download the CM 13 ROM from the download section. Also download the compatible Google Apps from the link
- Now transfer the zip files into your device’s internal storage. Place the zip files where you can easily locate it.
- Now reboot into Custom Recovery (like TWRP). To boot into TWRP, first turn off your device and then press and hold volume down and power keys at the same time. If you see the TWRP logo, that means you have successfully booted into the recovery.
- It’s highly recommended that you perform a nandroid backup. To backup your ROM, tap on backup option in TWRP and select all the partitions including System, Data, Boot, Recovery, EFS and swipe right where appropriate, to backup.
- After performing the ROM backup, perform a full wipe. Return to the TWRP main menu and tap the wipe button and select Advanced Wipe. Then select Dalvik Cache, System, Data, and Cache. Now swipe the confirmation button to wipe.
- Now go back to the TWRP main menu or home screen and tap on the install option. Navigate to the ROM file and select it.
- Swipe the confirmation button to proceed with the installation. The ROM will be installed.
- Now return to home in the TWRP and tap on the install option. Navigate to the Google apps zip file and select it.
- Swipe the confirmation button to proceed with the installation.
- Once installed, reboot to system.
If you see the new boot logo, that means you have successfully installed the ROM on your device. If you come across any boot loop or face system errors, try a factory reset from the recovery or you can always restore your previous ROM from the backup. If you are looking for root access on your new ROM, get to this page for latest SuperSU build and instructions.
Reference: Revert to stock
How to Install Factory Image on Nexus Devices
For queries, comment down below. Like and share us on social platforms. If you need help with other devices, let us know.


Join The Discussion: