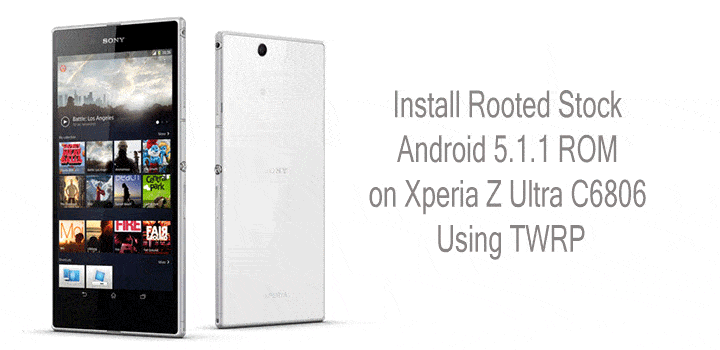
Android 5.1.1 update for Xperia Z Ultra is already out and ready to be installed. However, if you have rooted, installed a custom recovery or modified systems files on your device, then you may not be able to install these updates over OTA.
If you own this device and looking forward to installing the stock Android 5.1.1 firmware, then this tutorial will enable you to do just that even if you are rooted or have a custom recovery installed. Here is a flashable ROM based on stock firmware 14.6.A.0.368 that can be installed readily through a custom recovery like TWRP. Moreover, the firmware has root access. So you no longer have to worry about flashing the SuperSU package again.
It is a customized firmware for the US variant of the Sony Xperia Z Ultra C6806 that will take your device to version 14.6.A.0.368. The customized ROM also removes the carrier brand. No changes have been made to the core system of the ROM and it is very close to the stock FTP with minor changes to make it a zip file. Before you proceed, make sure you have the exact variant and device which is Sony Xperia Z Ultra C6806.
Warning: Warranty may be void if you root or install custom ROM on your device. We at DroidViews shall not be responsible for any damage to your device whatsoever. We are not responsible if you brick or damage your device. Reader’s discretion is advised.
Download Section
- Download | Mirror | Customized US 5.1.1 Pre-Rooted ROM for Xperia Z Ultra C6806 (File: C6806_Customized US_14.6.A.0.368.zip)
Requirements
- The listed Customized ROM is compatible with only Xperia Z Ultra C6806. Do not try it on any other device or variant.
- You need a custom recovery like TWRP installed on your device. Click here to jump to our tutorial with detailed instructions.
- You must have device drivers installed on your PC so that you can transfer the ROM file to your device’s storage.
- You must fully charge your device or at least to 60%, as the process may take a while.
Backup your Apps and Data
Before you proceed, make sure you backup all your data. This process will wipe all the data from your device except for the internal storage. Hence, a full backup or nandroid backup is recommended. Also backup all your internal storage files just in case anything goes wrong. Take a nandroid backup from the custom recovery before flashing the ROM.
How to Install Rooted Stock Android 5.1.1 ROM on Xperia Z Ultra
- Download the Customized ROM from the download section.
- Now transfer the zip file into your device’s internal storage. Place the zip file where you can easily locate it.
- Now reboot into Custom Recovery (like TWRP). To boot into TWRP, press and hold volume down and power keys at the same time.
- It is highly recommended that you perform a nandroid backup. To backup your ROM, tap on backup option in TWRP and select the following elements: System, Data, Boot, Recovery, EFS and swipe right where appropriate, to back up.
- After performing the ROM backup, return to the TWRP main menu and tap the Wipe button and select Advanced Wipe. Then select Dalvik Cache, System, Data, and Cache. Now swipe right to confirm.
- Go back to the TWRP main menu or home screen again and tap on Install option. Navigate to the ROM file and select it.
- Swipe the confirmation button to proceed with the installation. The ROM will be installed.
- Once installed, reboot to the system.
When you see the boot logo, that means you have successfully installed the ROM on your device. If you come across any boot loops or face any system errors, you can restore your previous ROM from the backups. For queries, comment down below.


Join The Discussion: