Nexus 9, the highly desired tablet of the quarter is out and rocking in the hands of tech geeks. Given the popularity of Android devices and their tweaking, the Nexus 9 users might have already started throwing search terms like unlock bootloader of Nexus 9 and root Nexus 9. Google, however, added an extra layer to its unlocking mechanism, so you now have to enable OEM unlock before you get your hands dirty.
On the other hand, the legendary developer Chainfire blessed the Nexus 9 users with the rooting process which in our opinion, came out very quick. On the contrary, Chainfire claims that the Nexus 9 rooting process took few extra hours than he anticipated. However, we are not getting the CF-Auto-Root firmware as the new Lollipop requires live patch kernels and moreover the 64-bit is a major upgrade to the candy flavour.
It’s not advisable to use older superSU zips on Nexus 9 which may brick your new tablet. In this method you’ll need to flash a patched kernel using fastboot method, so rooting the Nexus 9 is manual as of now but don’t worry it’s not rocket science and we will guide you through the process. So, buckle up and get ready to unlock bootloader and root your Nexus 9.
Warning
This guide is intended only for the Nexus 9, not for any other device. Be extra cautious when you choose the rooting patches as flashing wrong patches might result in a bricked device. You alone are responsible for any consequences that might occur during the process, we shall not be held responsible for any damage to your device.
Prepare Your Device
- Charge your Nexus 9 above 60% battery level to avoid shutdowns during the process.
- Enable USB Debugging: Link
- Install required USB drivers on your PC.
- Backup your device storage, Contacts, SMS etc. using Google Sync service or any third-party app.
Unlock Bootloader and Root Nexus 9
Warning: Unlocking the bootloader of your Nexus 9 will all apps and data present on your tablet. Please backup everything before proceeding!
This guide is separated into two parts for convenience, first part deals with the unlocking the bootloader and the next part covers the rooting.
Unlock Bootloader
- Open device settings on your Nexus 9, scroll down to the bottom of the panel and select About phone option.
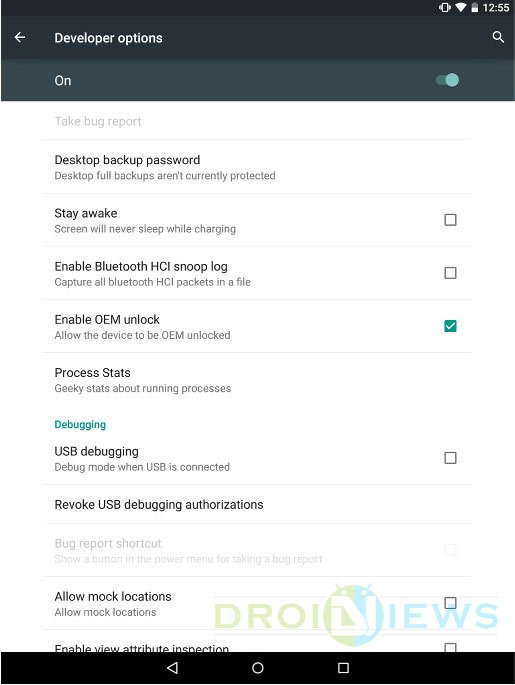
- Enable developer options by tapping the Build number 7 times. You will encounter with a message “You’re now a developer.”
- Now you can see Developer options in the settings menu just above the About phone menu. Enter the Developers option menu by tapping on it.
- Tick the checkbox next to Enable OEM unlock option.

- Enable the USB Debugging option as well if you haven’t enabled it before hand.
- Download and extract the adb-fastboot.zip file anywhere on your PC.
- Connect your Nexus 9 to PC using an USB cable and make sure your PC detects your device. If not make sure you have proper drivers installed.
- You might get a popup with the computer’s RSA key prompting you to Allow USB debugging on your Nexus 9. Accept the prompt by pressing OK and tick the always allow option.
- Navigate to the fastboot files folder and open a command prompt inside the folder by pressing Shift key + Right click in the empty space inside the folder, and select Open command window here option from the Windows context menu.
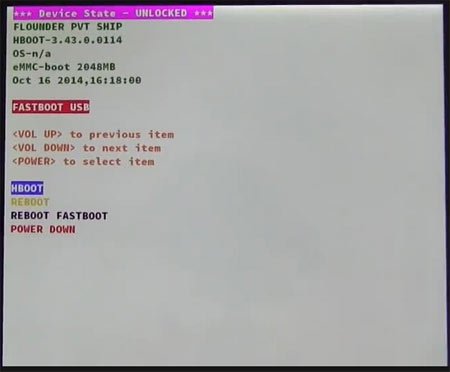
- Reboot your Nexus 9 into Bootloader Mode. Power off the device, then hold the Volume Down and Power buttons for a few seconds. Alternatively, you can also do that by executing the following command:
adb reboot bootloader
- Having entered the Bootloader/HBOOT mode highlight the FASTBOOT option using the volume key and select it by pressing the power button to enter Fastboot Mode.
- Once your Nexus 9 is in the fastboot mode, issue the following command to unlock bootloader:
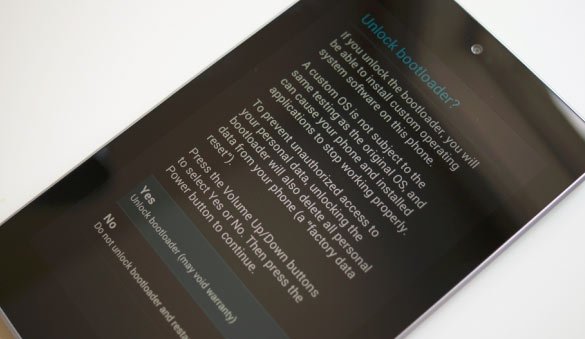
fastboot oem unlock
- Confirm unlocking the bootloader by pressing volume up button when prompted.

- Your device will automatically reboot finishing the unlocking process. You can check it by entering the Bootloader mode.

Rooting Process
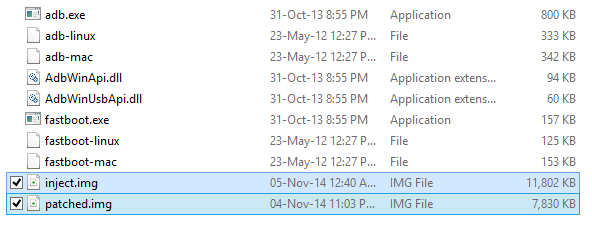
- Download the root package from Chainfire’s site and extract the zip. → Click Here to Download

- Now copy the contents of the rooting package into the ADB and Fastboot folder.

- Now connect your Nexus 9 to computer via USB cable into bootloader/fastboot mode by executing the following command:
adb reboot bootloader
- Now execute the following command to boot from inject.img:
fastboot boot inject.img
- Flash the patched kernel using the following command to root your Nexus 9.
fastboot flash boot patched.img
- Reboot your device using the following command.
fastboot reboot
That’s it, your shining Nexus 9 is now rooted and be extremely excited about it. Just open the app drawer to check if the SuperUser app is present there. Open the app and update the SU binary if prompted. To verify root access, you can install the Root Checker app from the Play Store and run it.
[googleplay url=”[googleplay url=”https://play.google.com/store/apps/details?id=com.jrummy.root.browserfree”]Share your experience with the guide in the comments section below.
Want to Root your Nexus 9 on Mac? Watch the following video by our friend Shane Starnes (DroidModderX):


Join The Discussion: