Sony Xperia XA2 launched back in February 2018 with a focus on multimedia performance, equipped with support for LDAC and Sony DSEE HX codecs. The device is also expected to get the Android Pie update sometime this year. Sony hasn’t given a timeframe as for when that might happen though. While you wait for the Android Pie update, you can install TWRP and root Xperia XA2. Rooting opens up many gates and the things you can do will keep you occupied until the update arrives.
Warning
The Xperia XA2 is still a relatively new device and if you have one, chances are it probably is still under warranty. As you probably know already, rooting voids your warranty. Moreover, to root your device you will be relying on third-party tools and software. None of these third-parties, nor us, will take any blame in case you end up harming your device. You must understand the risks involved and take full responsibility for your actions. You can proceed with confidence that the method does work. Still, things can go wrong. In which case, you must understand that you were warned, and you still went with it anyway. Therefore, DroidViews cannot be held liable for any damage to your device.
The process of rooting itself neither requires you to format your device nor it should be formatted automatically. Still, make sure you have backed up everything important, including files and folders on your device’s internal storage. Creating a backup is never a bad idea. If you haven’t unlocked the bootloader yet tough, your device will be wiped clean, including the internal storage, when you do unlock it.
Requirements
- Unlocking the bootloader will/should completely wipe all data from the device. This includes apps, settings and even the contents of the internal sd card (pictures, music, etc.). Copy all important files off the phone onto a PC or upload them to a cloud.
- Download ADB and Fastboot or SDK Platform-tools drivers.
- Windows users will need to install the latest Sony USB drivers.
- Enable USB debugging and OEM unlock. To do this go to your Settings > About phone. Now tap on the Build number 7 times until you see a toast message. You can then find both the options under Settings > System > Developer options.
- Make sure the device is charged at least 50%.
Downloads
- TWRP recovery for Sony Xperia XA2: twrp-3.2.2-0-pioneer.img, twrp-installer-pioneer-3.2.2-0.zip
- Latest Magisk: Magisk
Install TWRP on Xperia XA2
Before you can root Xperia XA2, you eed to flash TWRP recovery first so let’s flash it:
- Power off your phone.
- Press and hold the Volume Down button on your Xperia XA2 and connect it to your PC with a USB cable while holding the Volume Down button.
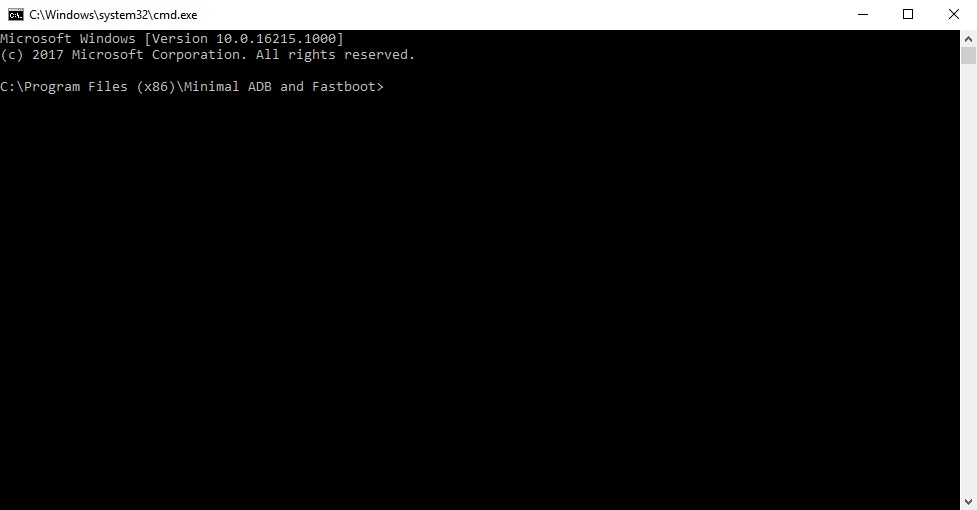
- Now go to the ADB installation folder on your PC. (C:\Program Files (x86)\Minimal ADB and Fastboot)
- Type in cmd in the address bar and hit enter to open a command prompt window in the folder.

adb command prompt - Now let’s see if your device is properly connected to your PC. To do this, type the command given below and hit enter.
fastboot devices
- You will see your phone’s serial number and if you don’t, you should check if you have installed all the required drivers or if the USB connection is tight.
- If your device is detected, boot the recovery image with the following command.
fastboot boot /path/to/twrp-3.2.2-0-pioneer.imgIn the command above, replace /path/to/ with the actual path to the twrp file. You don’t need to type a path if the twrp file is already placed in the adb folder. Also, make sure you’re typing the correct file name of the TWRP image file. As of this writing, the latest version is v9.86 but a newer version will have a different file name.
- When your device boots to TWRP, go to Advanced > ADB Sideload and then swipe at the bottom to start it.
- Now use this command on the PC to flash the TWRP zip file.
adb sideload /path/to/twrp-3.2.2-0-pioneer.zipSimilarly, as before, replace /path/to/ with the actual path to the twrp file and use the correct file name.
- One it is flashed, go back to TWRP main menu and select Reboot > recovery.
Do you know you can do more things by using ADB and fastboot commands?
Root Xperia XA2
Once you have installed TWRP, you can proceed to root Xperia XA2 by following these steps:
- When your device is back in TWRP recovery, start the ADB sideload again as before.
- Now flash the Magisk zip with the same command as before.
adb sideload /path/to/magisk.zipReplace with the correct path and file names.
- Once Magisk is flashed, reboot your device normally and it should be rooted.
Having rooted your Android, don’t forget to take advantage of these 20 build.prop tweaks to get more out of your rooted Xperia XA2.


Join The Discussion: