The Sony Xperia Z was first introduced at CES 2013, Barcelona and it was successful in dragging the attention of tech-folks and receive a lot of acclamation. If you own this Sony’s flagship and want to root it, we are here with a way to you. This is not a new tutorial in any way and to be correct the phone was rooted even before its official launch.
The root method given here has been devised by XDA member DoomLord and has been reported working with the other variants of the Xperia Z too. The developer has tested and found it working for the following models of the device: C660, C6602, and C6603.
Please note that the root procedure described below is only for Sony Xperia Z with unlocked bootloader and therefore it is recommended that you should not try it with any other model or locked Xperia Z. To unlock the bootloader of your Xperia Z, visit Sony Mobile’s official site and follow the instruction given there.
Update:
If you are not able to root your Xperia Z using this tutorial, please read our latest rooting guides for the device and use the method that corresponds to your phone’s firmware version.
Disclaimer:
The procedure described below is considered risky and it will void the warranty of your Xperia Z. Proceed only if you understand what you are going to do. The developer of this method and we, at Droidviews, shall not be liable to any damage dome to your phone.
Preparations before Rooting:
- Download the latest Android SDK platform-tools and install it on your computer
- modified CF-Auto-Root kernel: Z_DooMLoRD_CF-Auto-Root-ported_FW-350.img
- Stock insecure kernel for FW (10.1.A.1.350): Z_DooMLoRD_insecure_FW-350.img
Rooting Xperia Z:
- Place the downloaded file on your desktop and make sure you put them into the directory that your adb command line is executed from. For example, if your adb line reads: C:\Program Files\Android SDK, make sure that the files you just downloaded are in the same directory.
- Now extract the Fastboot file. Inside the extracted folder, you will see a file named fastboot.exe.
- Now plug-in USB cable to your computer but do not connect the phone.
- Turn off your Xperia Z and boot it into Fastboot mode: press and hold the Volume Up key and connect the other end of the USB cable to your phone.
- Having connected the phone to computer via cable, launch a command prompt window on your desktop. This is how you can do it: press and hold down the Shift button on your computer’s keyboard, then right-click on any empty area on the screen, then select “Open command window here” option.

- Type the following command code at the cursor blink. You can also copy the command and paste it on the cmd bux.
Code:
fastboot flash boot Z_DooMLoRD_CF-Auto-Root-ported_FW-350.img
- Next, type the following command:
fastboot reboot - Your phone will boot up and you will see a notification on your screen saying that it will reboot in 10 seconds.
- After CF-Auto-Root reboots the device once, disconnect the USB cable and do a hard power off – press and hold the Power + Volume UP buttons for about 15 seconds till the phone vibrates for three times. Now press and hold the Volume Up key to get into the Fastboot mode and then connect to the computer using the USB cable.
- Launch the command window again as you did in Step 5 above and then type the following command line to install the stock kernel.
Code:
fastboot flash boot Z_DooMLoRD_insecure_FW-350.img
- When the stock insecure kernel is installed, type the following command to reboot your Xperia Z.
Code:
fastboot reboot
- Your phone will boot up and it should now be rooted. Congratulations!
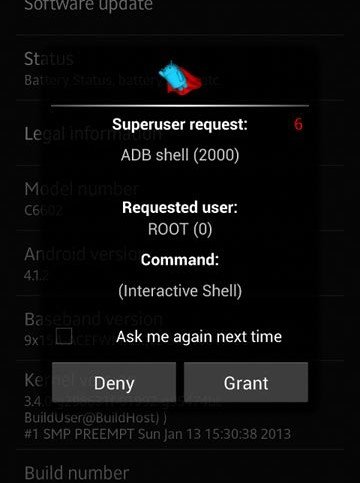
Open the app drawer on your Xperia Z and look for a new app called SuperSU. Open the app and update the binary code if prompted. To verify the root, download the Root Checker app from the Google Play Store and run it.
[googleplay url=”https://play.google.com/store/apps/details?id=com.jrummyapps.rootchecker”]


Join The Discussion: