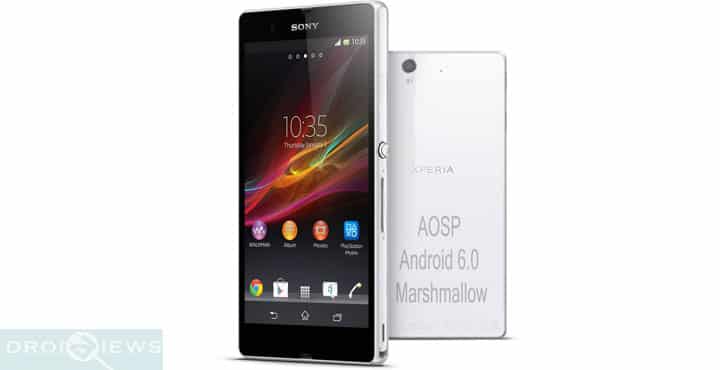
Though it seems skeptical if the Sony Xperia Z would receive stock Android 6.0 Marshmallow firmware update, here is a port from the latest AOSP source code, released by Google recently. Following the AOSP port, the official CM 13 ROM has been released for many Android devices like the LG G4, G3, G2, HTC One M8, Nexus series and lot’s more. However, neither stock nor CM 13 is available for the device at the moment. Hence, the Android Open Source Project is the only viable option.
Here is a tested and working tutorial to install the AOSP based Android 6.0 Marshmallow ROM on Sony Xperia Z. The listed ROM is an initial built and consist of some bugs at this moment. However, stability and bug fixes can be expected in the future.
As there is no word from the manufacturer about the official release, the AOSP remains the only option available to get the Marshmallow OS running on your device. The ROM is lightweight and very close to the Nexus device firmware.
This is an initial release and users may expect some bugs. Overall, the ROM doesn’t have any issues like system crashes or force close. With time, users can expect more builds from the developer.
Also make sure you have the latest TWRP setup on your device as Marshmallow compatible Google Apps needs to be flashed via custom recovery. Also, if you are looking for root, flash the SuperSU package at last.
Let’s begin with installing the AOSP ROM on your Xperia Z.
Warning: Warranty may be void if you root or install custom ROM on your device. We at DroidViews won’t be liable for any damage to your device whatsoever. We are not responsible if you brick or damage your device. Reader’s discretion is advised.
Bug Alert
- What’s working
- 2D/3D working
- Video playback
- Audio
- Touchscreen
- Lights
- Bluetooth
- Wifi
- Gps
- Sensors
- SD Mount
- Ril / Data
- NFC
- What’s not working
- Camera
- Incall audio
Downloads
- Download | Marshmallow files for Xperia Z Ultra (boot.img, system.img and userdata.img)
- Download | Mini Google Apps
- Download | More Marshmallow compatible Gapps
- Download | SuperSU v2.52 (File: BETA-SuperSU-v2.52.zip (3.8 MB))
Backup your Apps and Data
Before you proceed, make sure you backup all your data. This process will wipe all the data from your device except for the internal storage. Hence, a full backup or nandroid backup is recommended. Also backup all your internal storage files just in case anything goes wrong. Take a nandroid backup from the custom recovery before flashing the ROM.
How to Install Android 6.0 Marshmallow AOSP ROM on Sony Xperia Z
Prerequisites
- This AOSP ROM is compatible with Sony Xperia Z codename: yuga only. Do not try it on any other device.
- Unlocked Bootloader is required in order to flash the packages through fastboot. To do so, get to the official guide.
- Set up ADB and Fastboot on your computer. You can download the full Android SDK package from here or get the quick ADB and fastboot installer from here. For Mac or Linux OS, click here.
- Make sure you have custom recovery installed on your device in order to install Google apps and SuperSU.
- Install Sony USB Drivers on your computer.
- Open Settings> Developer options and enable USB Debugging on your device.
- Go to Developer options and enable Allow oem unlock, if available for your device.
Installation Instructions
- Download the all the image files listed in the download section. Now transfer them to your PC.
- Make sure you have setup ADB and fastboot on your PC. Also accept Always allow from this computer when you plug in the device for the first time to enable USB Debugging.
- Now power off your device and unplug it from your PC.
- Boot into the bootloader or fastboot mode. To do so, press and hold volume up and plug in your device to the PC via USB. You will see the bootloader screen. Select fastboot if such option is available.
- Navigate to the location where you have placed the image files. While the folder with the required image files is open, hold shift key on keyboard and right-click on an empty space and select “Open command window here” option to launch a cmd window.
- Now type the following in the command prompt to check your device connectivity. It should show device information. If it doesn’t, you need to re-install drivers and check the connectivity.
fastboot devices
- Now issue the following commands to install the ROM onto your device:
fastboot flash boot boot.imgfastboot flash system system.imgfastboot flash userdata userdata.imgfastboot reboot
- Wait until the process completes and your device will self reboot to system otherwise just reboot manually.
Wait until your Xperia Z boots up and when you see the boot logo, that means the firmware has successfully been installed on your device. Now if you come across any force close on apps, then you should perform a factory reset from TWRP and that should solve your problem.
Now boot into TWRP and flash the Google Apps. You can also gain root access on your device. All you need to do is flash the SuperSU package, listed in the download section, through TWRP recovery. For a full tutorial on how to backup and install custom packages with TWRP, get to this link.
For queries, comment down below. Like and share us on social platforms. If you need help with other devices, let us know.


how to make camera and calls work?