Google Play Music is the underrated music streaming service in a world of Spotify and Apple Music. It isn’t as popular as Spotify, nor does it have fancy DJs like Apple Music. Yet, Google’s offering has grown into a respectable music streaming service that some would claim is even better than Spotify. It has come a long way from the black and blue holo design to an eye-searing orange and white material design. Ever since then, it has been updated adding more and more features, but without a design overhaul. This has resulted in a UI that’s not the best, hiding some key aspects behind. So here are 5 Google Play Music tips and tricks if you’re new to it and can’t find your way around.
1. Set a sleep timer to automatically pause your music
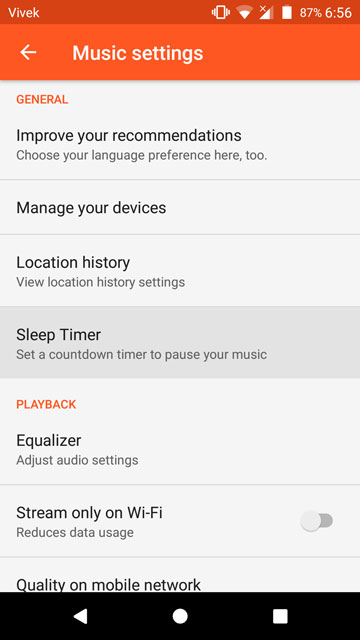
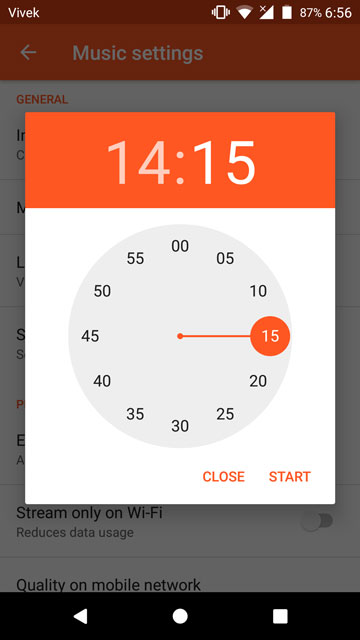
You probably like to go to sleep with music in the air, which is a growing trend these days. Even if you don’t, sometimes you just feel like doing it. On Google Play Music you can set a sleep timer so that songs stop playing after a certain amount of time. Admittedly, such a feature should have been somewhere easily accessible like it is on some other music players. You can access it here by going to Settings. Scroll down to the Sleep timer option, set the time, tap Start and you can comfortably fall asleep.
Also read: Get Instant Song Lyrics on Android with QuickLyric
2. Play Music videos right in Google Play Music
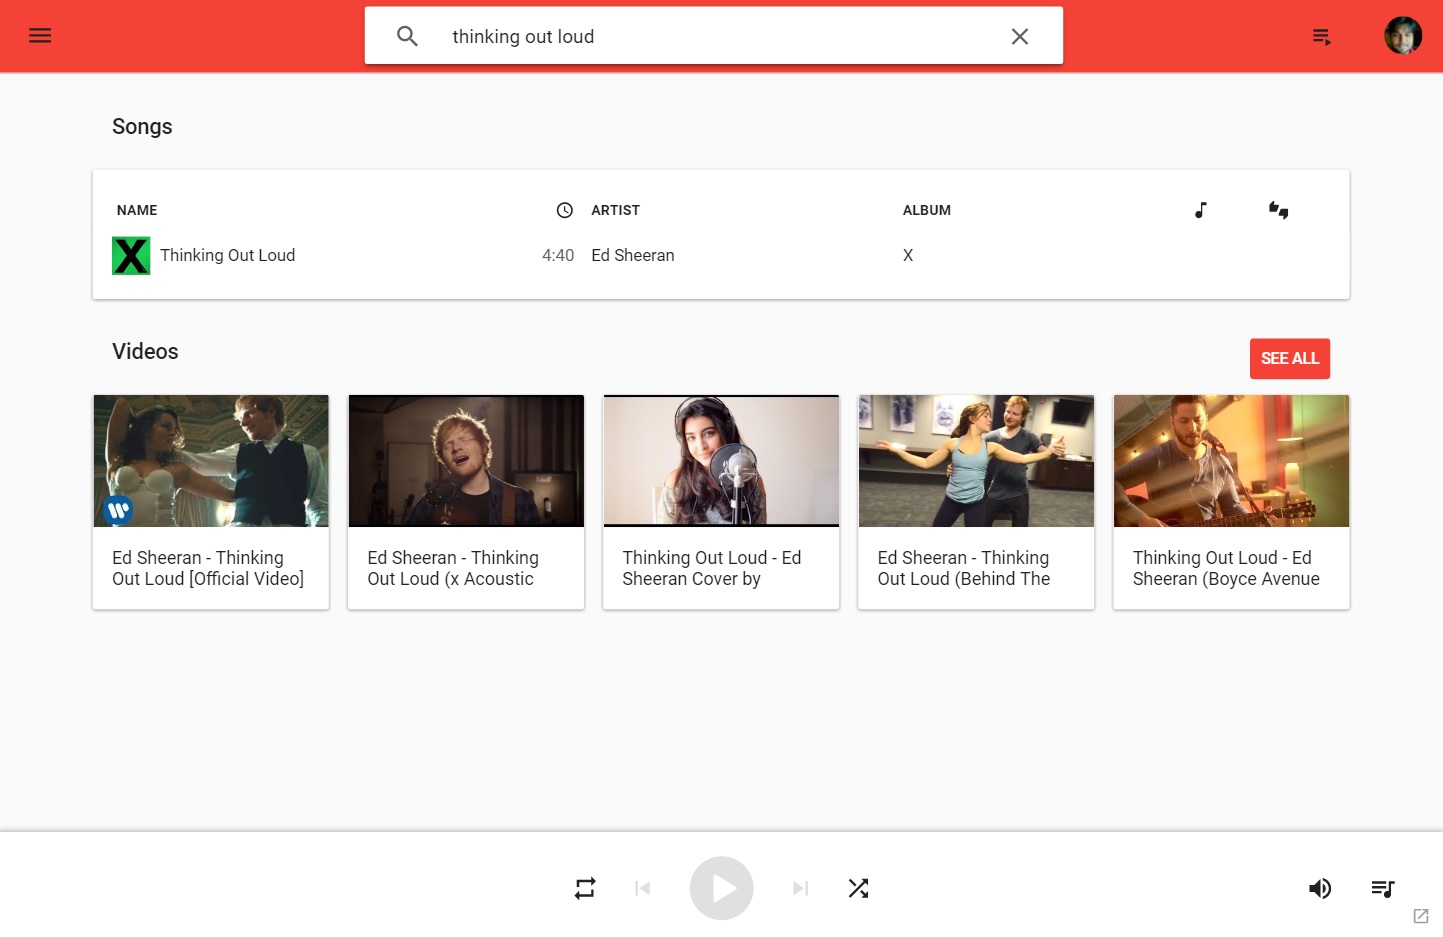
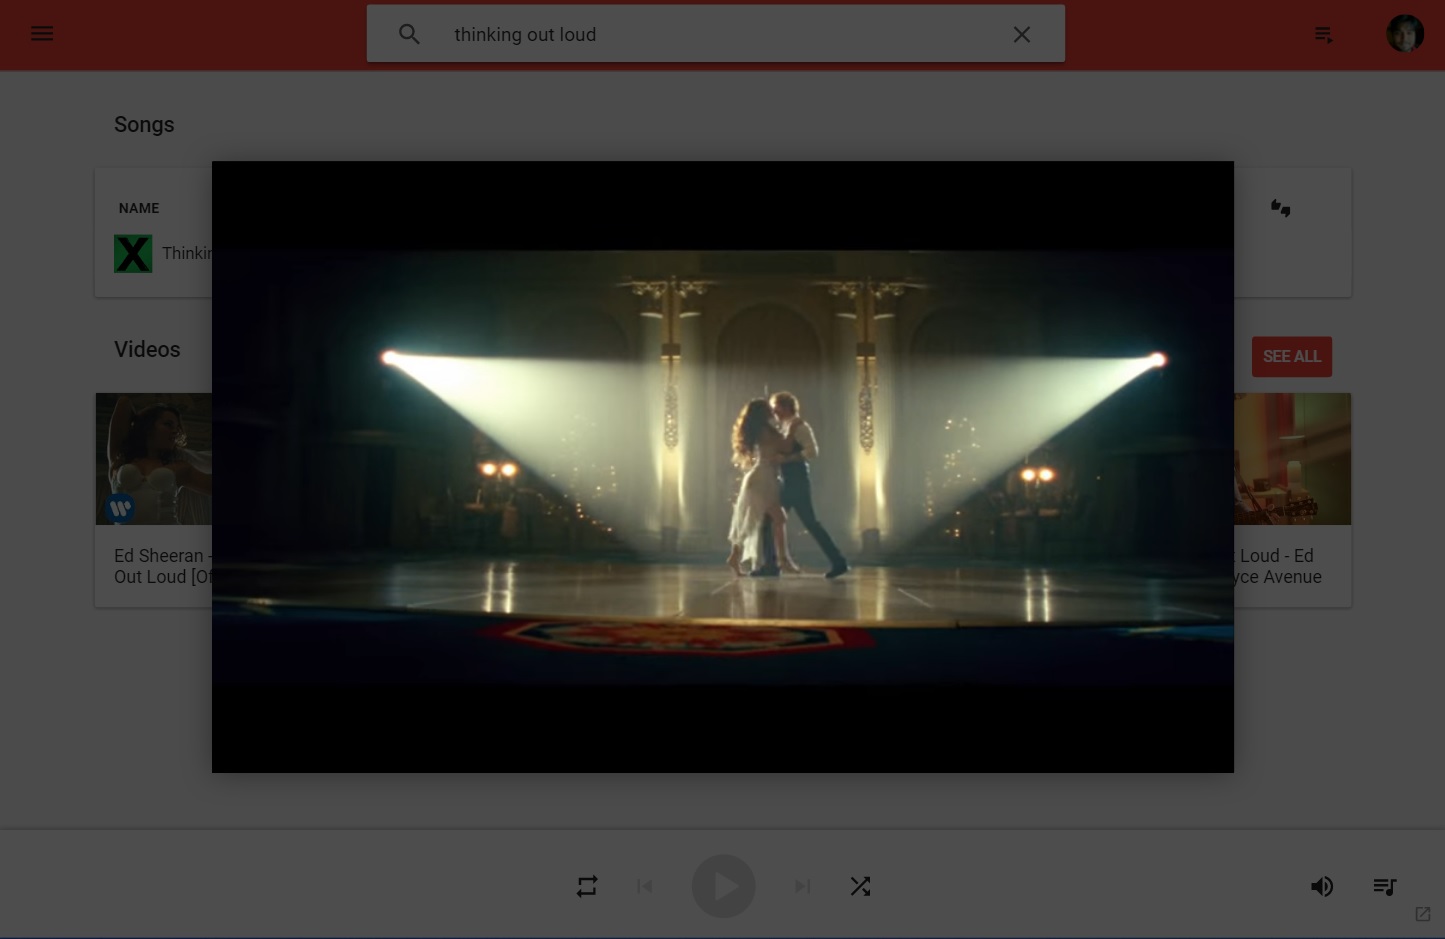
If you don’t use the search bar up top on the Google Play Music interface, you might have missed out on a really cool feature. When you search for a song, play music searches for the song in your library as well as YouTube videos. One might think that tapping on it will take you to the YouTube app or website but not really. The videos can be played right within the Google Play Music app.
3. Add your old MP3 files to your Google Play Music library
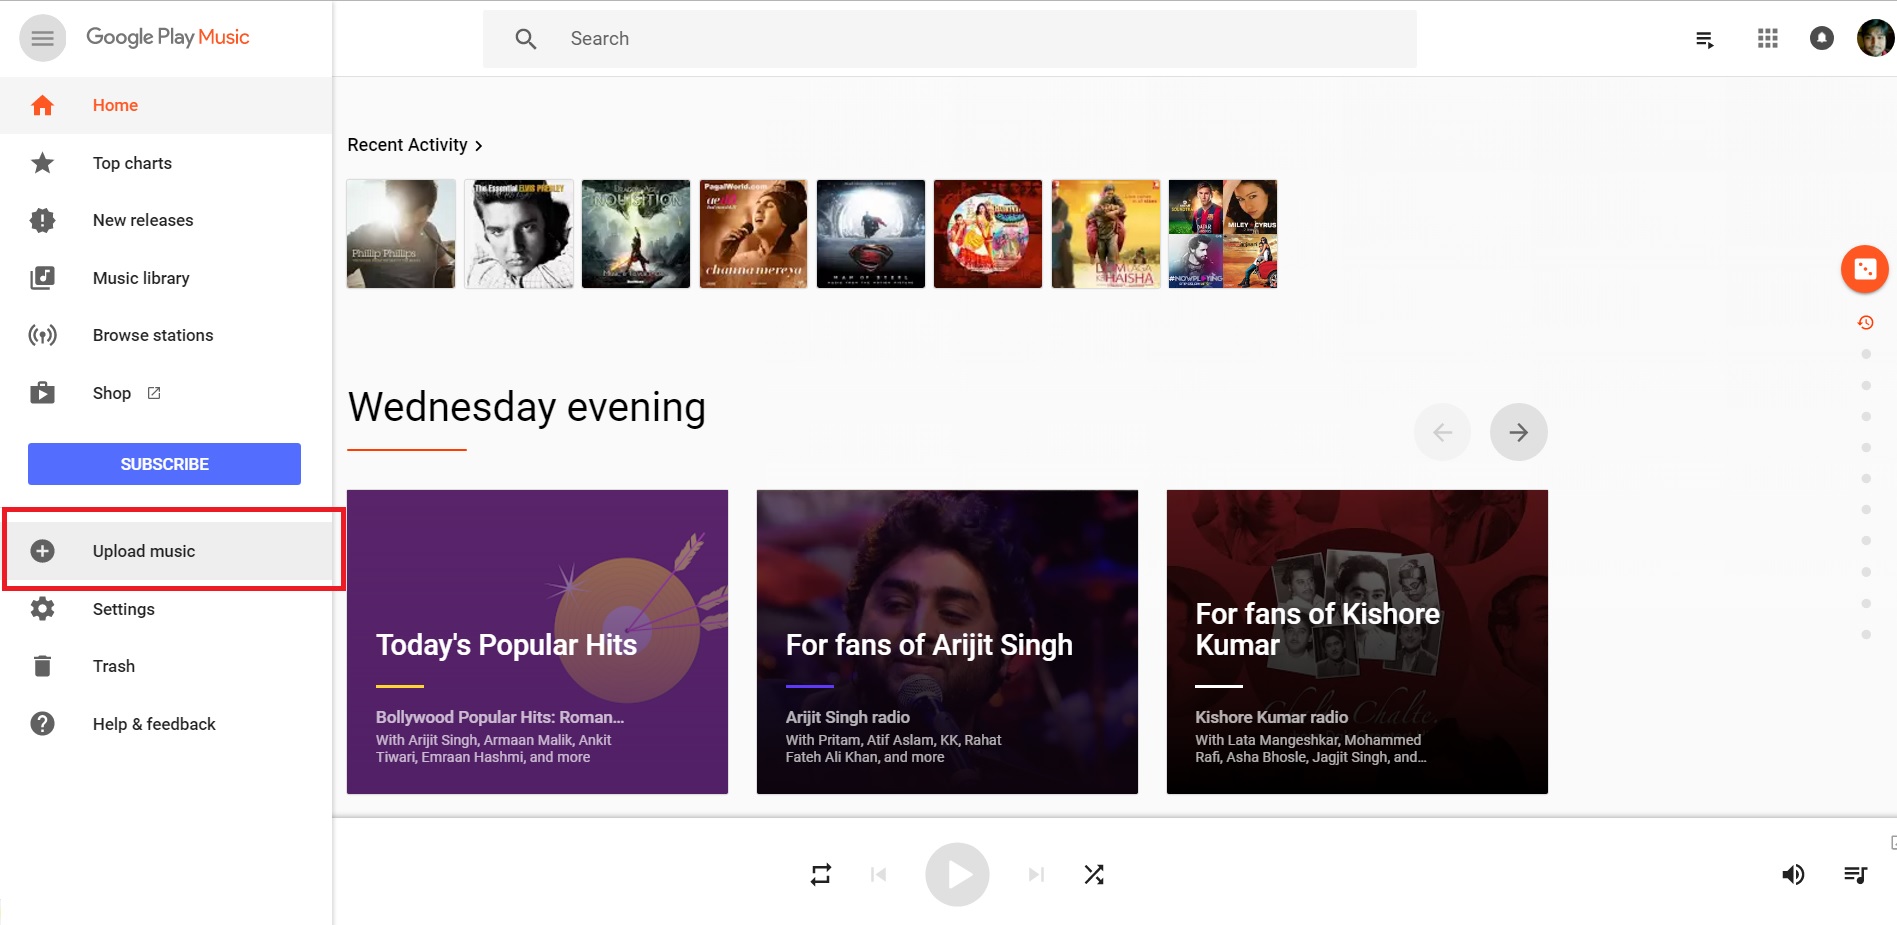
Unlike other music streaming services that require you to purchase all your songs once again, Google Play music actually lets you add the songs you already have to your Google Play Music library. For some odd reason though, you cannot do that on your smartphone or tablet using the app. Go to play.google.com/music and sign-in with your Google ID.
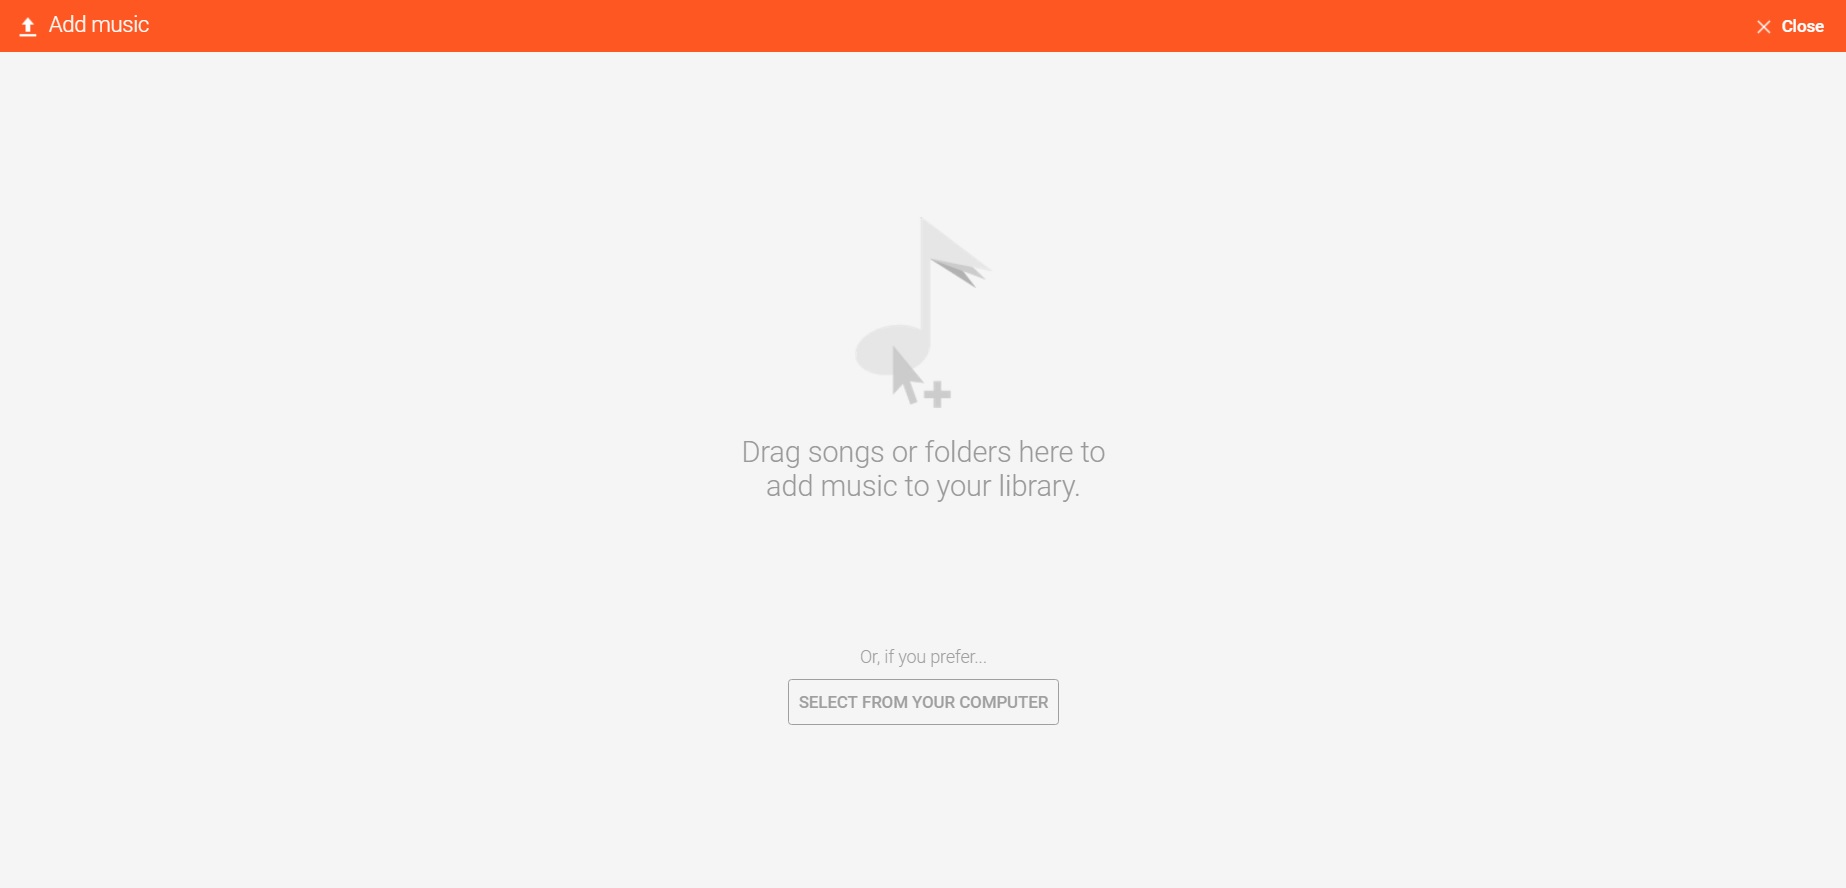
The Google Play Music web interface should load up. From here, you can click on the hamburger menu button on the upper left and click Upload music to upload any music you already own.
4. Sync all your music between all your devices
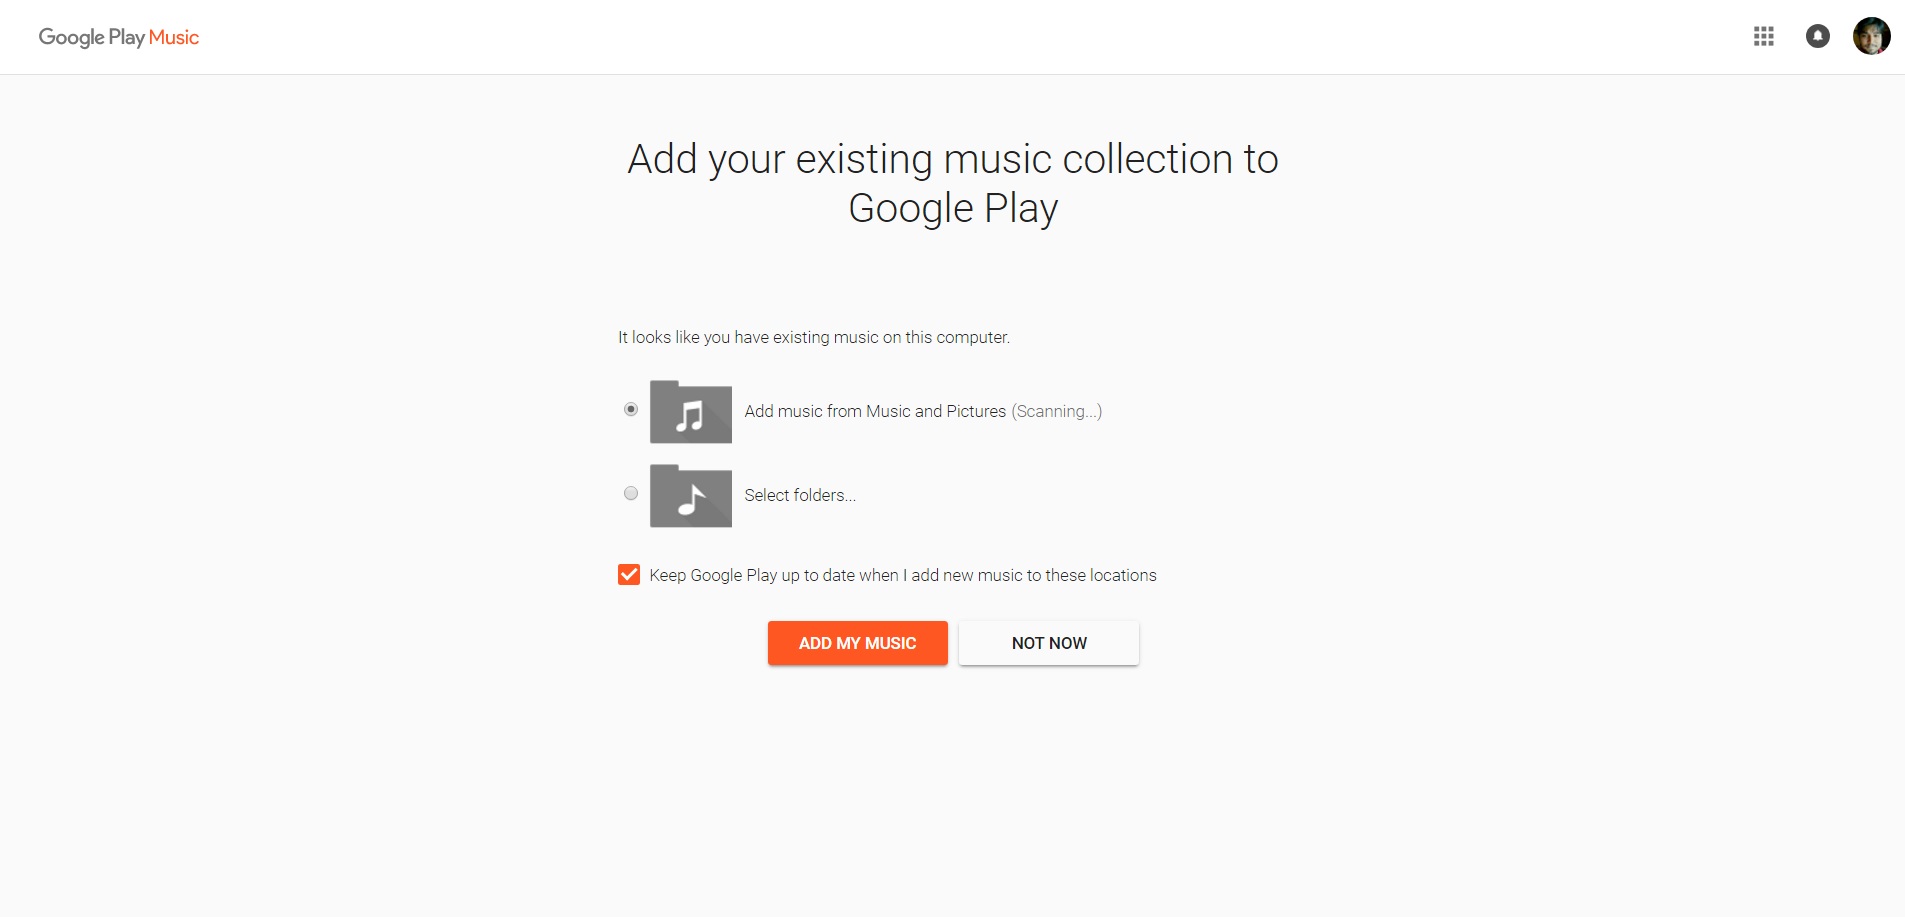
So we’ve already seen that you can add your own MP3s to your Google Play Music Library. What if you didn’t have to do it every time if you still add MP3s to your computer’s music library. You can set up Google Play Music to automatically sync any new songs from your computer and add them to your library. Thus you can download once, and listen on any device using the Play Music app. To do this, go to Settings on the Play Music web interface and scroll down to the section titled Music from this computer. Click on the Add music button. Here you can select folders on your PC from which you want songs to be automatically uploaded from.
Must read: How to Fix Google Play Services Battery Drain
5. Keep an eye on the number of your devices
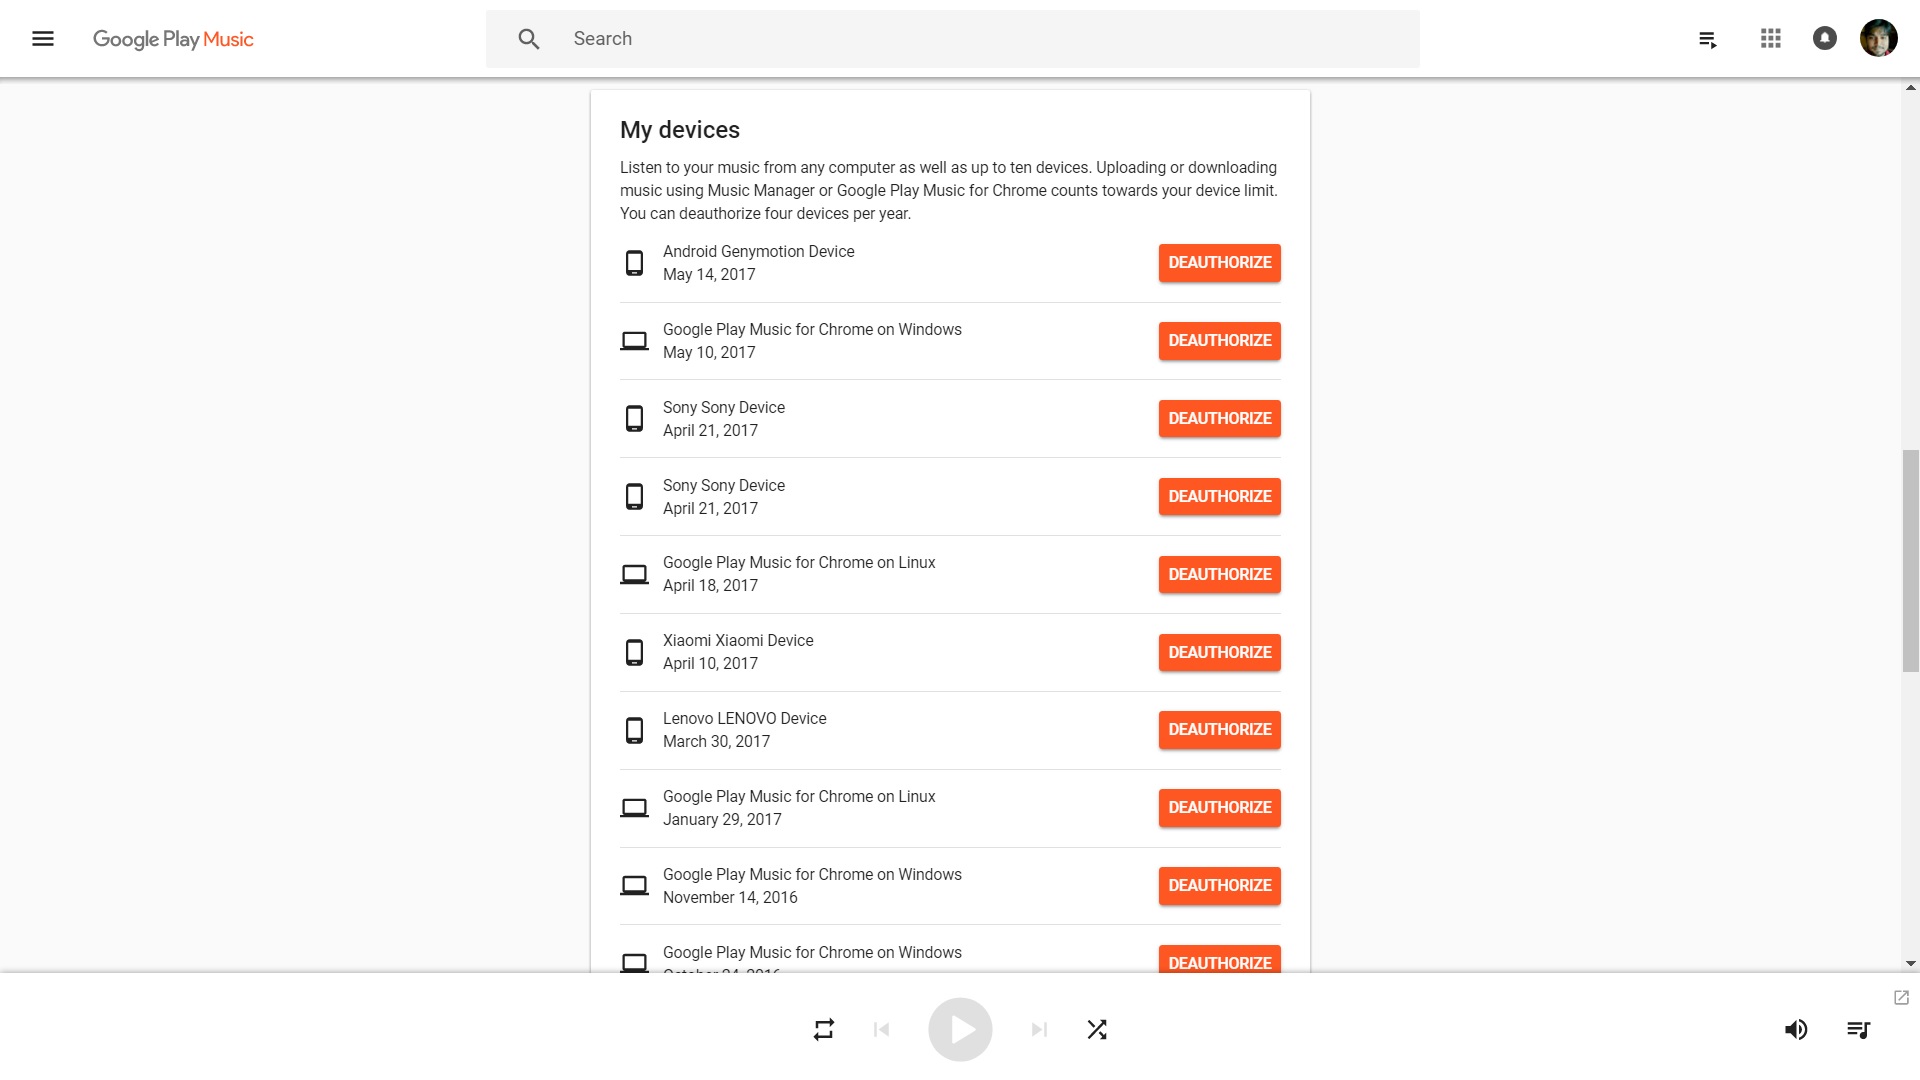
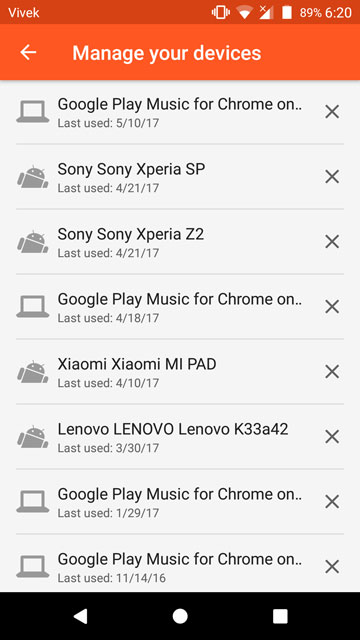
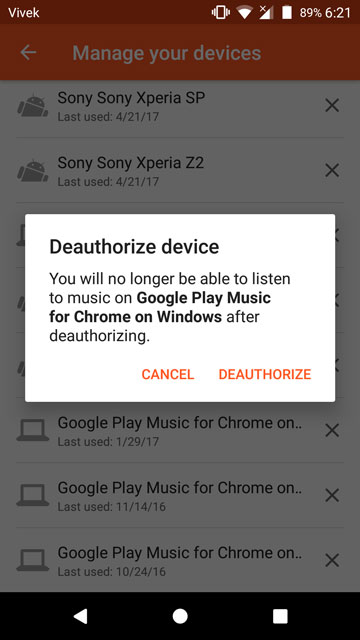
To make sure that you don’t share your account with everyone on the planet, Google limits you to 10 devices. And that shouldn’t be a problem for most. But for people like me, it’s quite easy to fill the list up. So you might want to keep an eye out for how many devices you use to log into your Google Play Music account. On the app, you can see a list of your devices by going to Settings > Manage your devices. On the web app, simply head over to Settings and scroll down to the My devices section. If you don’t use a listed device anymore, you can deauthorize it.
However, don’t go on a deauthorizing spree just yet. Google also limits the number of de-authorizations to four per year. So don’t spend all of those already because the list might fill up again. And when you buy your new phone a few months later, you might not feel happy about not being able to activate Google Play Music on it.


Join The Discussion: