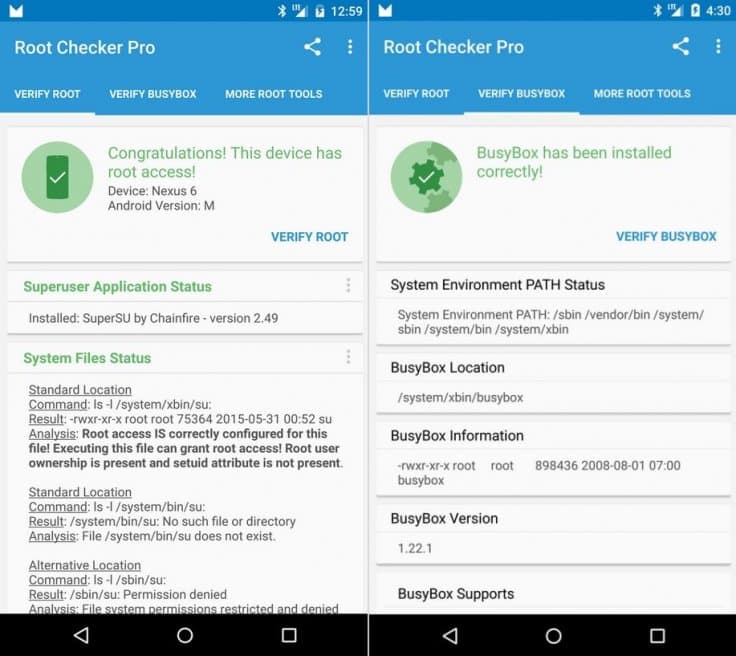
Android M couldn’t be simply rooted by the fabled universal root package SuperSU, once again thanks to Google for making too many changes to the Android ecosystem for security purposes. Nevertheless, Android developers and tinkerers never give up on anything that is easy just because they were bumped to the wall once. SuperSU developer Chainfire has confirmed that SuperSU is not working on Android M but there are some modified kernels which can provide access to root Android M. And today here we are with a working Android M rooting technique on Nexus 5 and 6.
If you haven’t already updated to Android M, follow the below link:
The credit for the custom kernels goes to DespairFactor of XDA who developed the custom kernels that helps SuperSU to root the device on Android M developer preview. You can now root your Nexus 5/6 just by flashing the Despair kernel and the latest SuperSU 2.49 through any custom recovery. So, if you’re ready to root your Nexus on Android M, just grab the below files and follow the simple instruction given below.
Downloads
Warning
Warranty may be void if you follow the below procedure. You alone are responsible for any consequences that might occur during the process, we shall not be held responsible for any damage to your device.
Prerequisites
- Charge your Nexus device above 60% battery level to avoid shutdowns during the process.
- Backup your device storage, Contacts, SMS, etc. using Google Sync service or any third-party app as the entire device will be wiped clean.
- Install TWRP recovery on your Nexus 5 | Nexus 6
Root Nexus 5 and Nexus 6 on Android M Developer Preview
- Download the custom kernel and the SuperSU zip files from above and transfer it to your device’s storage.
- Boot your Nexus into recovery mode. To do this:
- Power off your device completely.
- Press and hold Volume UP + Volume Down + Power buttons together until you enter fastboot mode.
- Now, press Volume Down to highlight recovery option, and then press the Power button to select it and boot into recovery mode.
- Now that you’re in TWRP recovery, we recommend taking a full nandroid backup of your device for safety. You can skip this step if you’ve already taken a backup.
- Now flash the custom kernel downloaded from your Nexus device. To do this, simply enter the Install menu, select the custom kernel file from the list, and swipe to confirm flashing.
- Once the custom kernel was flashed, flash the SuperSU zip in a similar manner.
- Go back to the recovery menu and reboot the device by selecting Reboot » System.
That’s it! Once the device boots up, you can download Root Checker app to check root permissions on your device.
Let us know of any issues regarding the procedure in the comments section below.
Read Next: 9 Hidden Features in Android 6 Marshmallow


is Despair kernel safe
help plz i cant download Despair kernel for Nexus 5
Code Blue kernel also works, and is based on AOSP Android M kernel. I’m wondering if anyone knows of an essentially stock kernel that has been modified only for permissive and/or whatever else is required to allow root to work, and no other changes. I’d prefer to be completely stock (other than being rooted and having a custom recovery) but so far the only kernels working with root are modified more heavily than I’d like.
Same here. Is the Code Blue kernel also for the Nexus 6?
Further, I’m preferring Code Blue right now because I can’t find any indication that the Despair kernel is based on the Android M codebase — all indications seem to be that it’s 5.1.1. Maybe there is an M based one somewhere but at least with Code Blue I can clearly see that the one build is Android M.