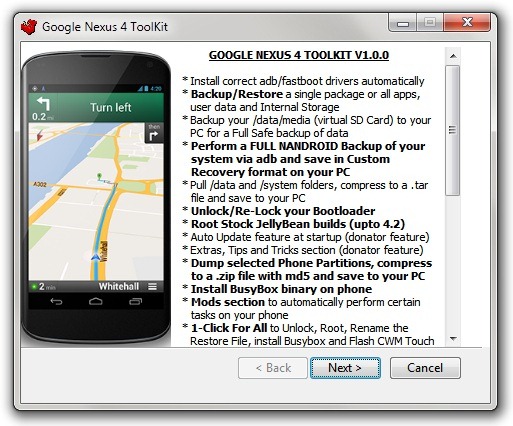
Feeling the Google’s latest flagship might be giving you a heck of happiness, the so called feeling of being on the top of the world. But we here would love to raise your level of happiness to a 100 times, how? Indeed, that’s the question.
Today, we will guide you to Root your newly bought Nexus 4 which is running Android Jelly Bean 4.2 by first unlocking the bootloader and then Installing CWM via fastboot method. This method is quiet easy by its approach, no matter even if you are new to Android because we first intend to explain you everything in brief before proceeding to the actual instructions.
Terms & Understanding
Rooting: It is a process of gaining root privileges over an Android subsystem. Rooting an Android device is easy in most cases. If you will to Install custom ROMs, kernels, other patches or addons to your Android device, rooting is what you will need. It can be achieved in two ways; either by manual method (using fastboot) or by automatic method (using toolkit or software). We are going to guide you with the manual method by using fastboot commands.
Unlock Bootloader: A bootloader is a boot initializing component which is generally locked by the device manufacturer to avoid any messing around with the OS. We need to unlock it for the same reason. Once unlocked it will allow us to change the boot sequence and modify the OS in accordance of our needs.
ClockworkMod (CWM): It is a Custom Recovery by Koush which is based on the device’s stock recovery with additional features. This will actually act as a tool to Install Customs to your device’s flash memory (firmware).
Since now we are done with introducing you to general terms and their introductions, we will head now to the Instructions. But before the instructions, you need to be aware of the requirements.
Prerequisites
- A compatible USB data cable for undisturbed connection between the PC and the device.
- Appropriate USB drivers. [Download here]
- At least 60% of battery to avoid any uncertain shutdowns during the process.
- Make sure to backup your device data, since unlocking the bootloader will erase everything on the device.
- Download the Required files.
- Extract the downloaded zip to the desktop, you will now have a “fastboot” folder on your desktop which beholds all the required files that we will be needing throughout the guide.
Unlock the Bootloader
- Power off your device and reboot into bootloader mode by pressing volume down + Power buttons all together.
- Connect your device to the PC via USB data cable.
- Open the “fastboot” folder that you have on the desktop. Press shift button and right click on an empty space in the folder. Select “Open command prompt here“.
- A command prompt window will pop up.
- Type :
fastboot oem unlock
- You will now be prompted, if you want to unlock the bootloader. Of course! That’s why we are doing this, aren’t we? So, use the volume keys to highlight “Yes” and select it using the Power button.
- The phone will reboot and hard reset itself. You have unlocked your Nexus 4 bootloader successfully.
Install ClockworkMod (CWM)
- Power off your device and reboot into bootloader mode by pressing volume down + Power buttons altogether.
- Connect your device to the PC via USB data cable.
- Open the “fastboot” folder that you have on the desktop. Press shift button and right click on an empty space in the folder. Select “Open command prompt here”.
- A command prompt window will pop up.
- Type:
fastboot flash recovery CWM.img - This will flash the ClockworkMod recovery image file to your Android.
- You can boot up to Recovery by selecting “Recovery” while in boot selection mode using the Power button.
- You will now see the ClockworkMod on your Nexus 4.
Backup using ClockworkMod
- To be on the safe side, we will backup the current ROM if anything goes wrong.
- Power off, press volume down +power buttons simultaneously until you see the boot selection mode. Select “Recovery” by highlighting it with the help of volume buttons and then power button to select.
- Go to “Backup and Restore” and “Backup” your current ROM.
- Do not exit the Recovery once the backup is complete.
Root your Nexus 4
- In previous step, we didn’t exit the Recovery. Now,
- Download the SU binary flash able zip for your Nexus 4. [Download here]
- Connect your device to the PC via USB data cable.
- In recovery, go to “mounts and storage” and “mount USB storage“.
- This will mount the device’s storage to your PC (same as USB mass storage).
- Copy/paste the downloaded “CWM-SuperSU-v0.93.zip” to your device’s storage.
- Unmount USB storage
- Disconnect the USB cable.
- Go to “Install zip from sdcard” > “Choose zip from sdcard” > Select the “CWM-SuperSU-v0.93.zip” that you place in the storage and flash it.
- Once done, select “reboot system now“.
Congratulations! You have now rooted your new Nexus 4 without any glitches. Since now your device is ready for customs, you can easily flash any Custom ROM.


hello……. cant download the required files !
Hello,
“Download the SU binary and busybox flash able zip for your Nexus 4” download impossible because missing file
The link as been successfully updated and guide edited accordingly. Try again.
Hi, the link to “Download the Required files. [Download here]” opens an empty Dropbox.
Thank you for notifying. The link has been fixed and updated