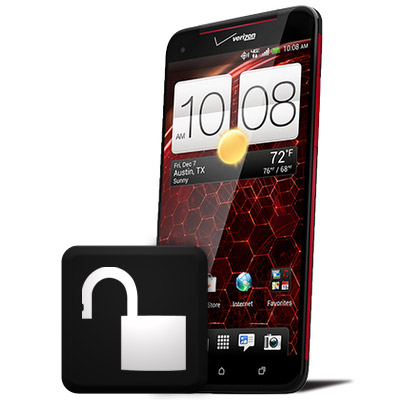
We have already made you aware of the new HTC Droid DNA. Not even a day and the device has already been rooted and made custom ready. In order to root this device, we will first need to unlock its bootloader. So, here we will try to instruct you with the easiest available way to unlock the bootloader on your Droid DNA.
Prerequisites
- Download HTC USB drivers.
- Make sure that your device is charged to at least 60% to avoid any interruptions during the method.
- Backup your device data completely and be on the safe side.
- A USB Data cable for connection between device & PC.
Why unlock the bootloader?
The locked bootloader (or say bootloader) delivered with the device has its limitations from the manufacturer. Unlocking the bootloader shall be considered as a pre-requirement for gaining root privileges on a device. This step can be reverted easily and you can get back your locked bootloader if you desire.
How to unlock HTC Droid DNA bootloader
- Download the required files.
- Extract the downloaded “unlock_bootloader_files.zip” to Desktop and rename the folder to “fastboot” for your ease.
- Now, we have the following files in the “fastboot” folder.
- Make sure to register and activate an account on HTCDev.com.
- Once you have successfully activated your HTCDev account, visit the website. Go to “Unlock Bootloader” and hit “Get Started”.
- This will pop up a new page and you will see a drop-down menu under Supported Devices. Open the dropdown, scroll to the end and select “All Other Supported Models“. Now click on “Begin Unlock Bootloader“
- You will now be subjected to some terms and condition which also defines the risk in the process. Click on Yes and accept the terms to continue further ONLY IF YOU ACTUALLY AGREE WITH THEM.
- You will see a new page, just scroll to the very end and click on “Proceed to step5” button.
- Do the same with the next page that opens, scroll to the end and click on “Proceed to step 8” button.
- Switch off your device and reboot into bootloader mode by pressing volume down + power buttons simultaneously until you see the screen flash. Your device will now display the bootloader mode.
- Highlight the word fastboot with the help of volume buttons and select it using the power button.
- Now, connect your Droid to the PC via USB cable.
- Now, go back to your browser where we clicked “Proceed to step 8” button. A new page must have opened, you will see the steps, start from Step 8 and complete till step 10.
- At the end of the page, you will see this empty block, this is where you have to submit your Device Identifier Token. Copy the token that you obtained from Step 8 to Step 10 and paste it in the block. Now, click on the Submit button.
- Now, you shall receive a prompt displaying “Token Submitted Successfully“. On receiving this message, open your email (that you registered on HTCDev.com). You will see an e-mail from the website itself with an attachment (Unlock_code.bin). Download the attachment, it is the major file that we will need while unlocking.
- Drag (copy/paste) the attachment to the fastboot folder on your desktop.
- Open the fastboot folder. When inside the folder, press SHIFT Button + Right-click on an empty and go to “Open command prompt here“. This will open a command window already cd to the current location.
- Next, what we are gonna do is flash the provided “Unlock_code.bin” by using the fastboot flash method.
- Type the following command in the command prompt window.
fastboot flash unlocktoken Unlock_code.bin
- You will now be prompted to confirm if you want to unlock the bootloader, use the volume keys to highlight “Yes” and select it using the power button.
- The Device will now reboot itself and do a self factory reset. You now have your new HTC Droid DNA’s bootloader successfully unlocked and ready to go custom mode.
Since now you have been successful in unlocking your bootloader, you shall proceed to the instructions to install custom recovery and root your HTC Droid DNA.


Join The Discussion: